If there is anything you will come to learn about me it’s that I am wreath obsessed. I have them hanging all over our house, and I will change up our front door with each passing holiday and season. While I could go crazy and transition my Valentine’s Day wreath into a St. Patty’s Day one and then an Easter wreath…I’ve decided to keep things simple and make one I can have up for all of Spring. See how easy I made that for you? And in the spirit of saving time and money I will go ahead and say this is one of the simplest ones I have made in both effort and supplies needed. It also just so happened to turn out to be one of my favorites too!
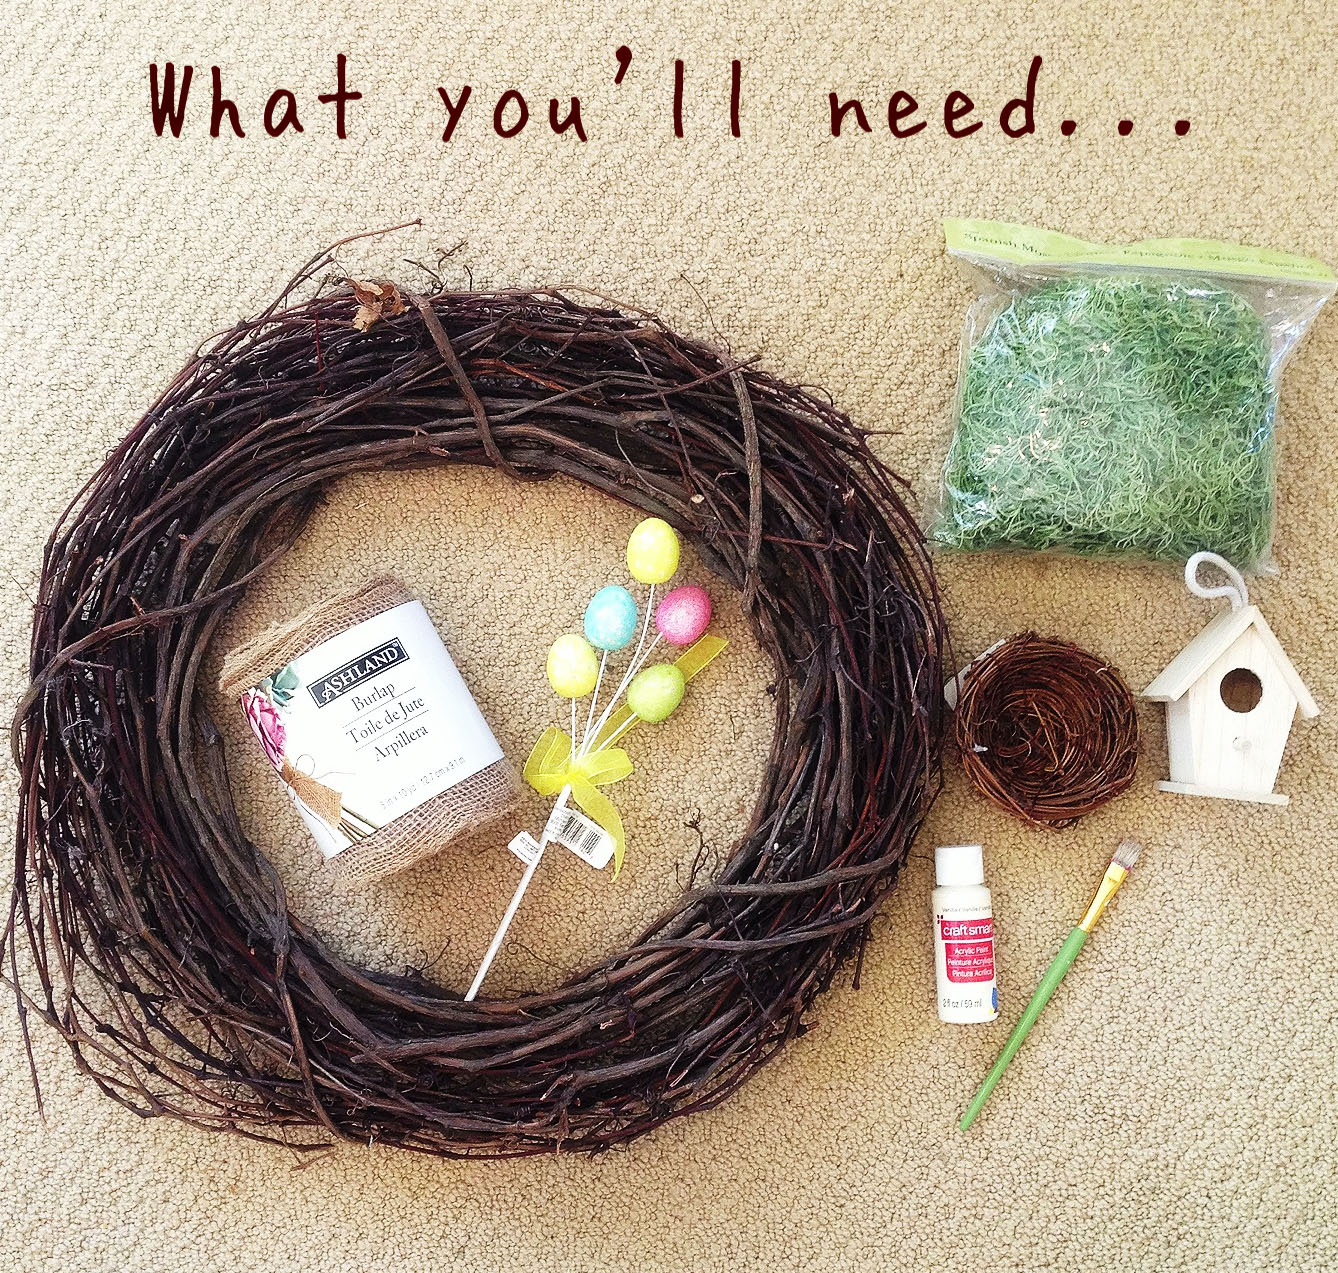
All the supplies I used were from Michael’s. You will need:
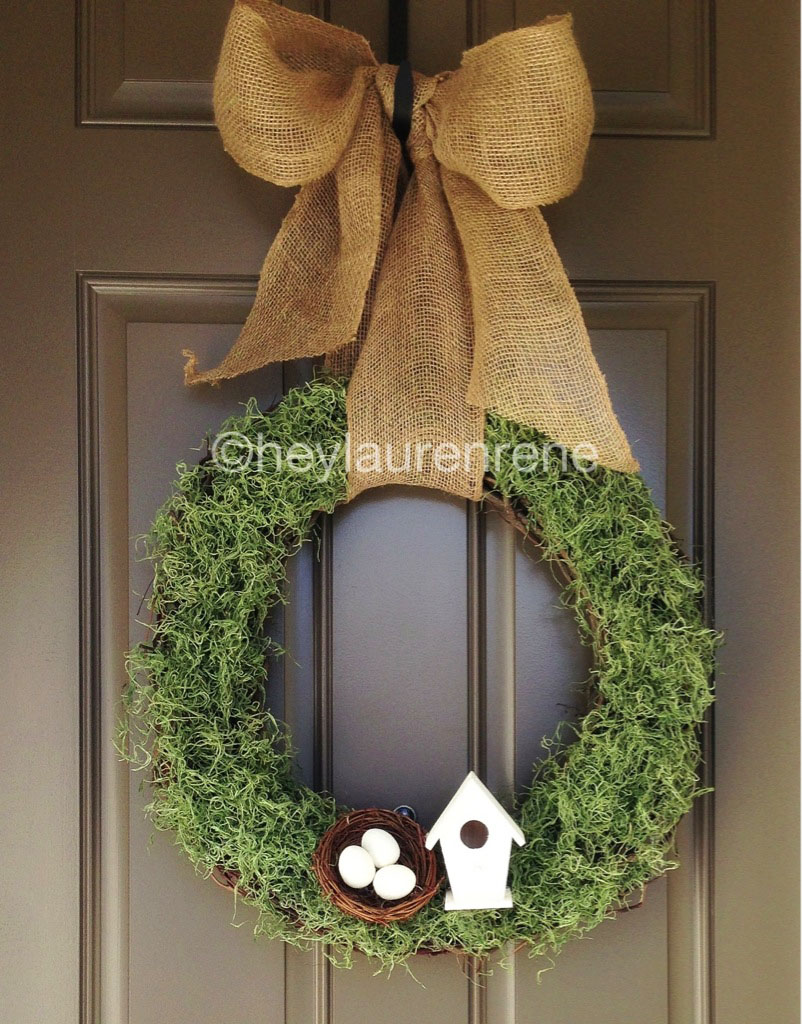
1 large twine wreath (I believe this is a 16″)- $5
1 bag of Spanish moss- $4
1 large roll of burlap- $6
1 wooden birdhouse- $1
1 branch of Easter eggs- $1 (you can use whatever kind of egg you like. I just picked these for their size and because they were the least expensive)
1 birds nest- $2
1 small bottle off white acrylic paint- $.50
Of course I used some coupons, and took 50% off that burlap roll. I ended up spending less than $15 for everything. You will also need a hot glue gun, glue sticks, scissors and a paint brush.
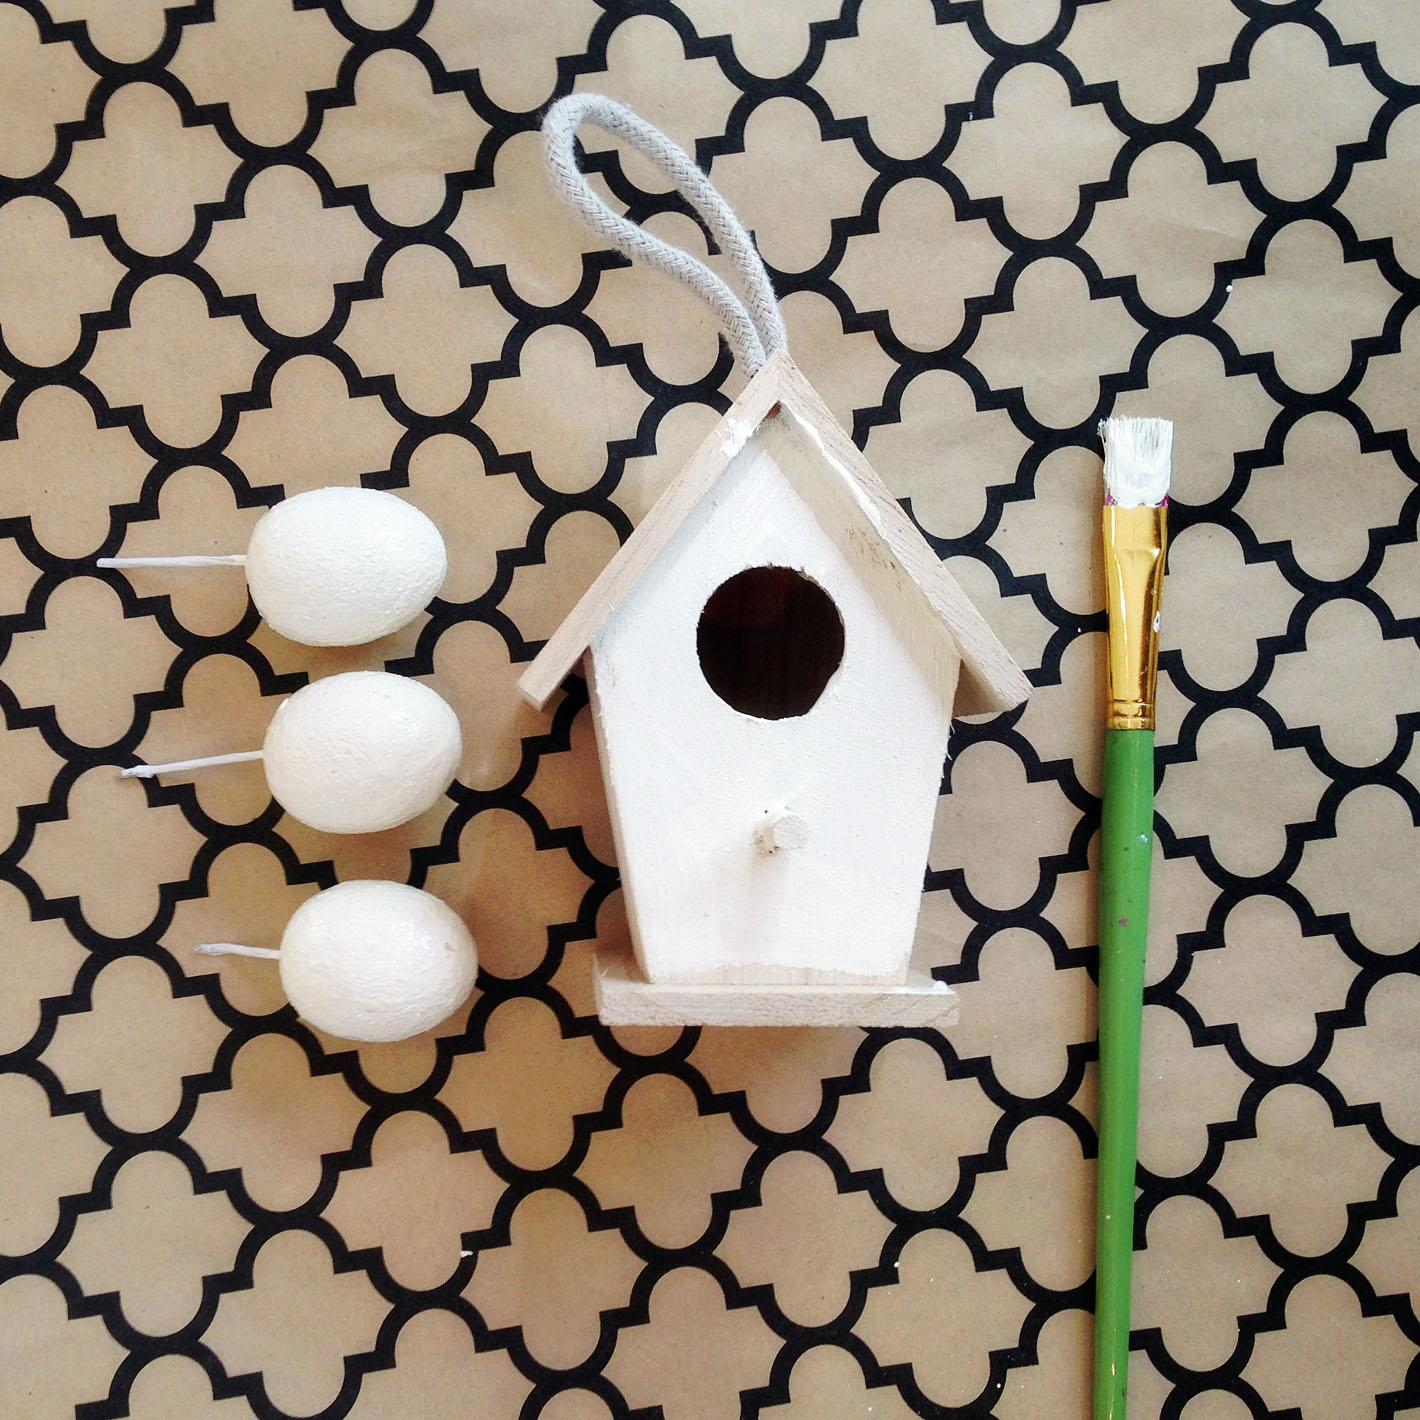
I started with painting the bird house and 3 of the eggs in the off-white paint. You can get creative here with color or you can go the more simple route like I did. I also cut off the rope from the bird house and painted over where it was originally connected.
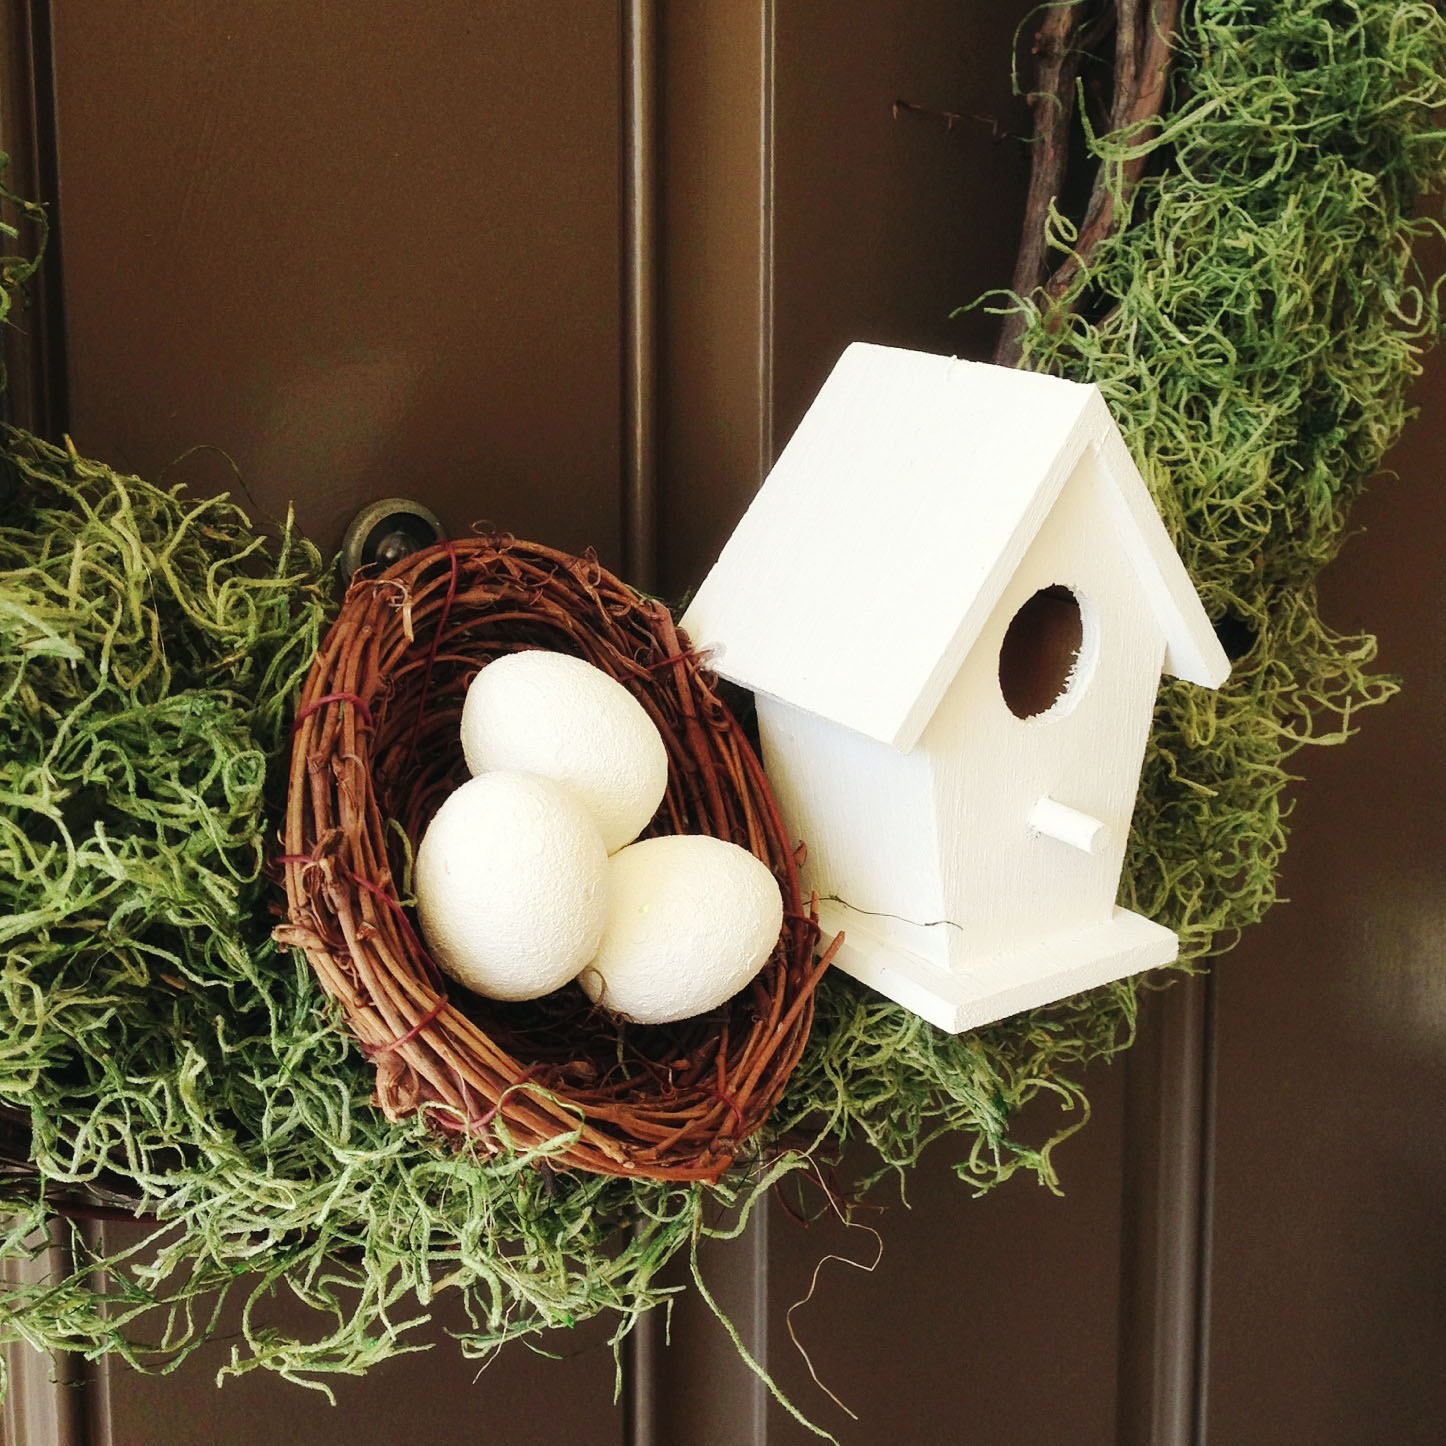
Then I made a huge mess and started glue gunning on the moss. I would add a pretty good amount of glue and add moss in about 6″ sections. 1 bag will stretch nicely across this size wreath. Use the whole bag and shape it when you are finished, filling in some patches you may have missed.

I then used my glue gun to attach the eggs inside the birds nest, and then attached both the nest and birdhouse to the wreath with the glue. You could also use wire to attach these items, that way you can take them off if you would like and add other items with the changing of holidays.
Then take your burlap roll and cut a really long piece that you can trim after you are done according to the length you want to hang it. I cut about a 9′ piece. String the burlap through the wreath and pull it right to the center so the wreath is dangling from the middle point of your burlap ribbon. Hold the burlap on both ends and tie a knot about 12″ up from the top of the wreath. This is where you make a bow and pull the loops out as big as you would like them. Fluff them out a little and shape them to the size you would like. Let the additional burlap hang down and trim the ends so they are even. Then cut again at an angle to give it a more finished look.
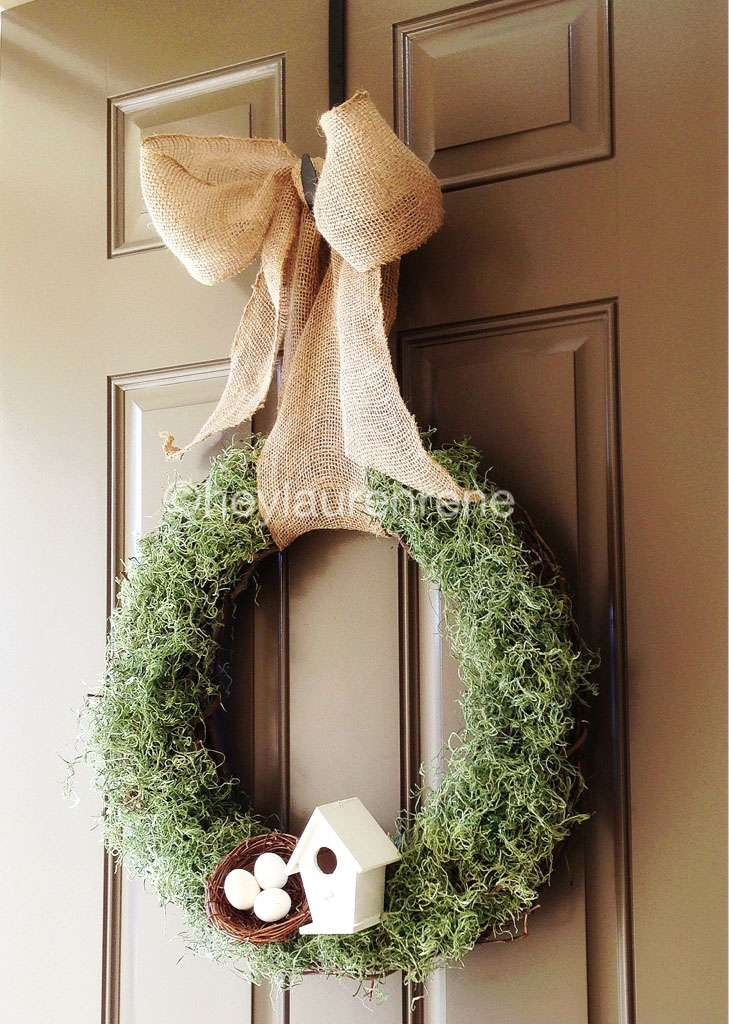
Hang on your door with a wreath hanger from the point of the bow’s knot. This will make sure it is securely attached to your door and at a strong point on the wreath. Stand back and enjoy your beautiful new wreath that took about $15 worth of materials and about 15 minutes of your time! Happy crafting and bring on that Spring weather!

i love this wreath! Great idea and such simple items – thanks for sharing. I enjoy reading your website