DISCLAIMER: IF YOU ARE MIMA OR NANA STOP READING NOW ![]()
Yesterday the boys and I worked on part of the gifts we are going to send out for Mother’s Day in a few weeks. My mom and Greg’s mom live across the country from us so we know they love anything tangible that is a reminder of the boys. What’s better than seeing their little hand prints on something they made and knowing they can carry them around anywhere they go?
These totes are great on their own, or you can use them as a gift bag and fill with other goodies for Mother’s Day….photobooks, a frame, gardening tools, candles, jewelry, bath and body products, baked goods etc. Here are some simple instructions for how we made ours.
What you’ll need:
-Canvas tote (Micheal’s had a huge selection ranging from $2-$10 based on size & quality-these are just the $2 ones)
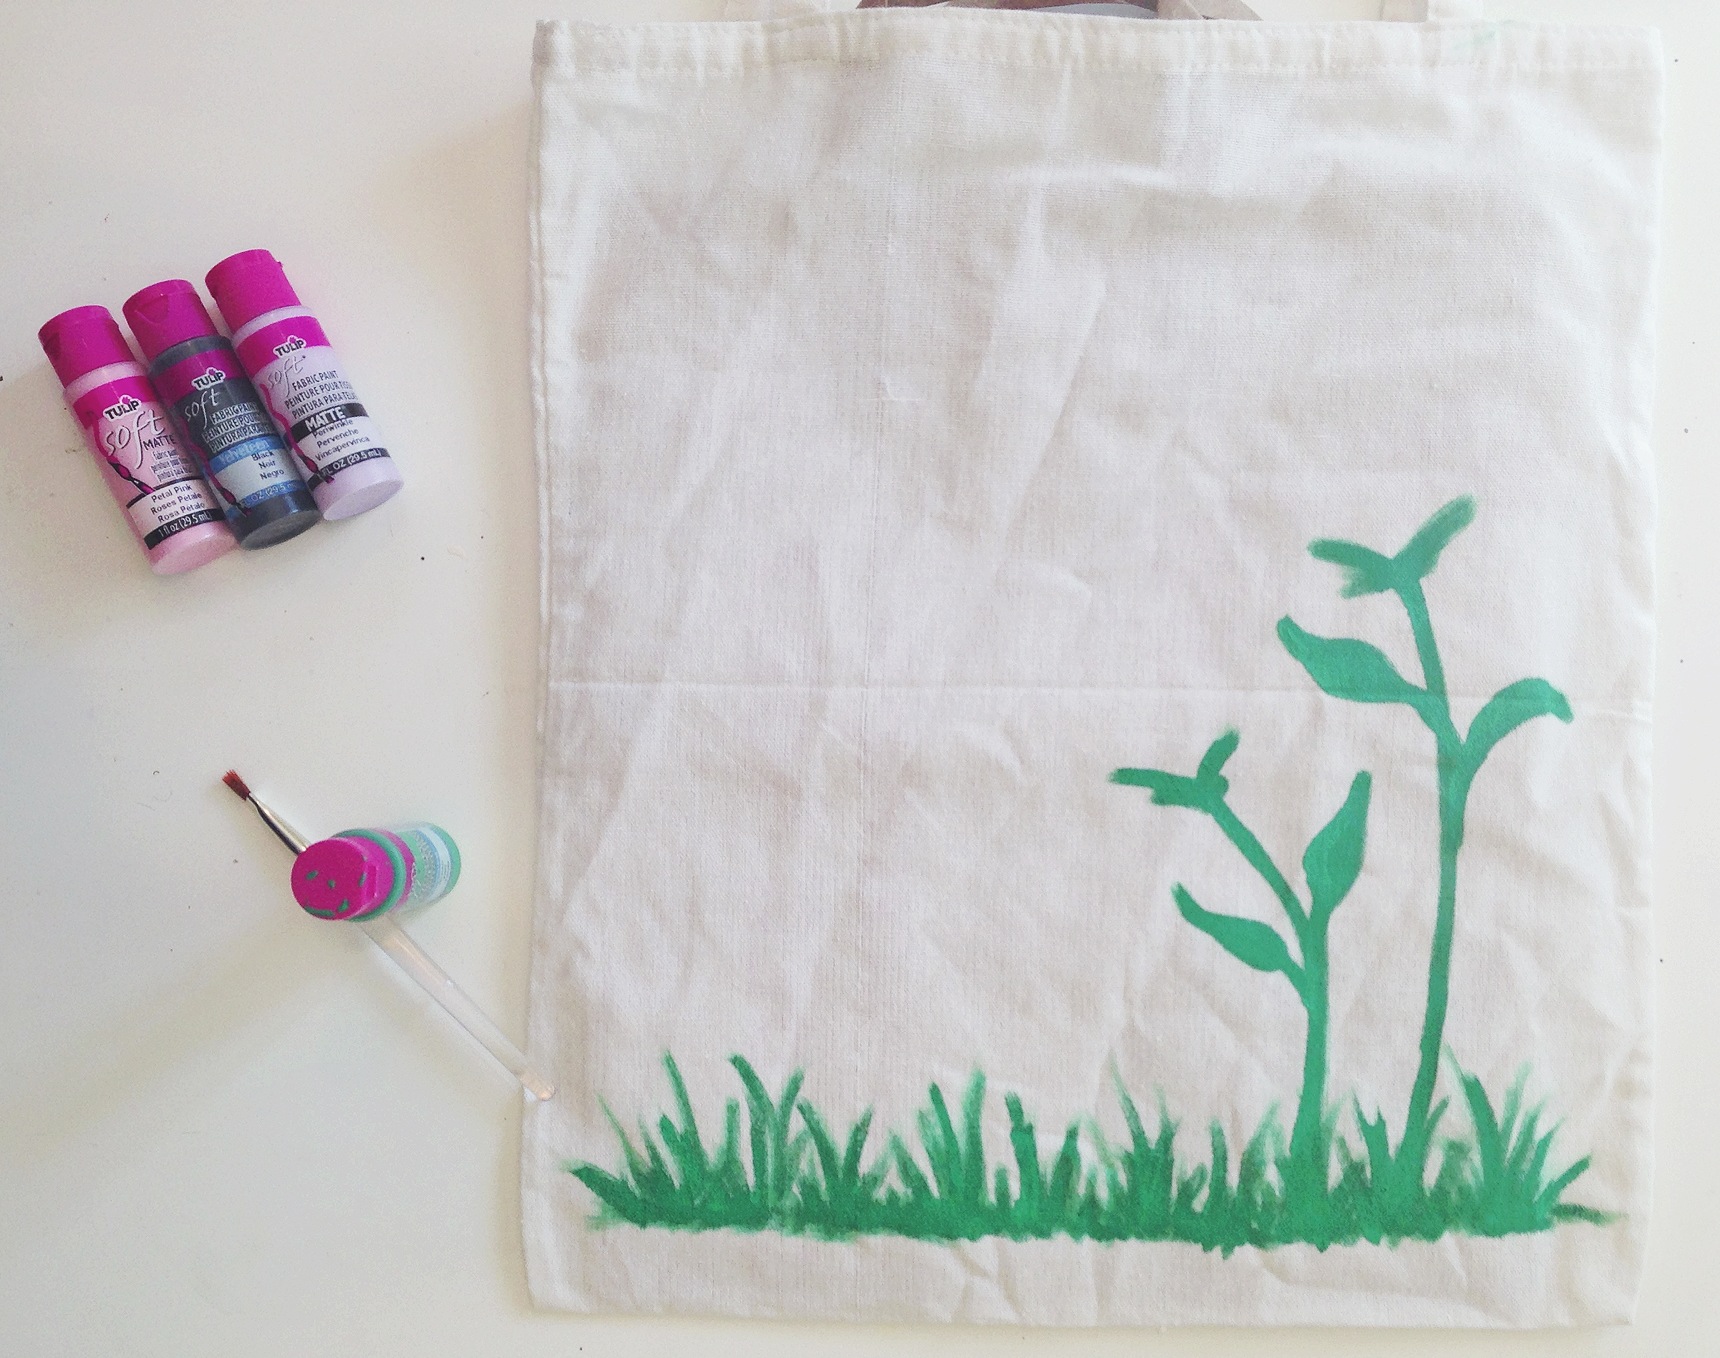
-Fabric paint (green for grass/stems, black for the writing, and whatever colors you would like for hand print flowers)
-Paint brushes
-Pencil (to sketch out placement of writing)
-Paper grocery bag or cardboard

I used a paper grocery bag and slipped it right into the canvas bag. It fit inside the tote perfectly so the paint wouldn’t seep through to the other side of the bag. Next place the bag on a hard surface and paint on the grass and where you want the flower stems. I did two flowers so there was one for each boys’ hands. If your child is old enough they can definitely help with painting this part.
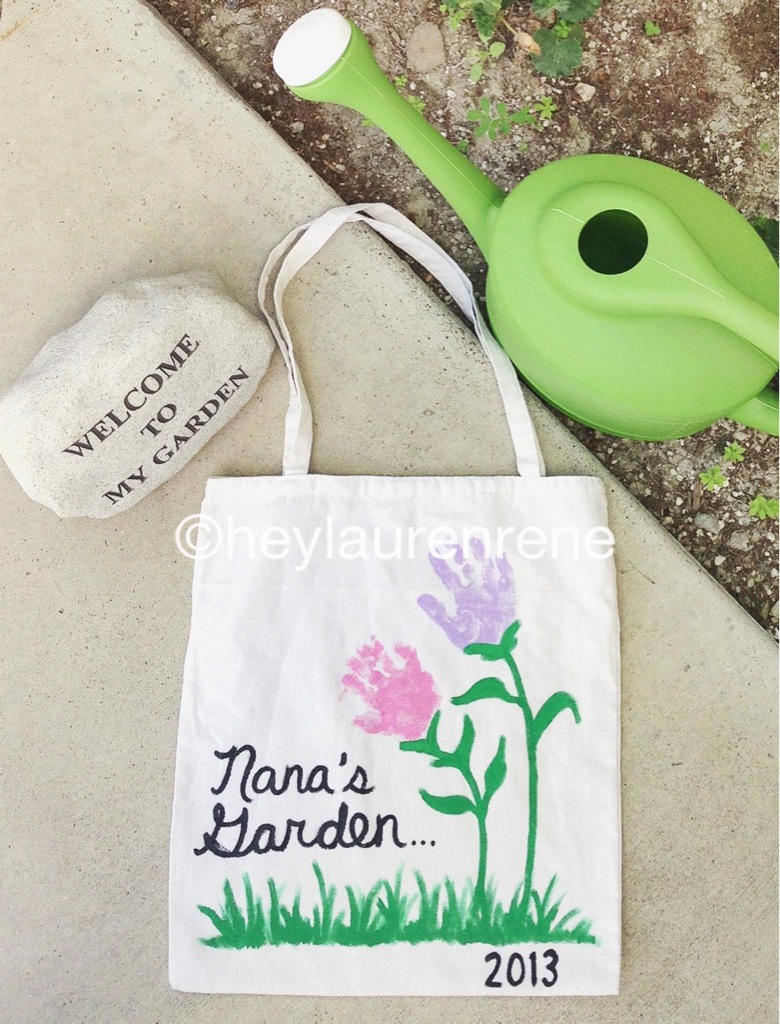
Once the green paint dries it’s time to have your children come help with their hand prints. Nathan liked squirting out the paint on a paper plate and rubbing his hands all around in it. This didn’t work for Shane (complete mess), so I suggest just applying paint directly on your child’s hand if they are younger. Wait for their hand prints to dry then go back in and touch up the leaves & stems if you need to.

After the flower hand prints dry you can add any writing you would like. I went in with a pencil and sketched in where I wanted the lettering to go, then went over it with black paint. Let the paint dry completely and then remove the paper bag. Fill with their favorite things or give it to them as is. Hope you give it a try….Happy crafting friends!

I love this! What a great idea!!
Thanks Lindsay!! It’s hard to do crafts these days since both boys are so busy, busy all the time so I like coming up with QUICK ones haha. I’m sure you can relate!
What a fun idea. The grandmothers will LOVE it. You’re so on the ball to already have Mother’s Day presents done!
Thanks Kara. By the time we finish gifts, get them shipped, and they arrive…it will be AFTER Mother’s Day haha.