Must Have Monday, Treat Yourself Tuesday, What I’m Eating Wednesday….all posts I had ready in my head but life had other plans for me this past week. Fevers, colds, coughs, ear infections, pink eye, no sleep, doctor’s appointments, e-mails, phone calls….I keep telling my friends that I think I am being punked. What.A.Week!!!
Amidst all this chaos I have completely spaced that Nathan started Spring Break yesterday (I literally would have been at his empty school on Friday), and I have put zero effort into Easter. Well ok, we dyed a few eggs and I have been on a Cadbury Mini Egg eating binge, but other than that I haven’t even thought about it. I have no Easter decorations up, no festive wreath on the door, and I haven’t crafted a single thing in months. I decided to make a bee-line to Michael’s yesterday without a plan for what I was going to make. I sometimes think I work better when I don’t plan things out, so I just grabbed a bunch of random stuff that I thought I could turn into something with the kids and came up with this.
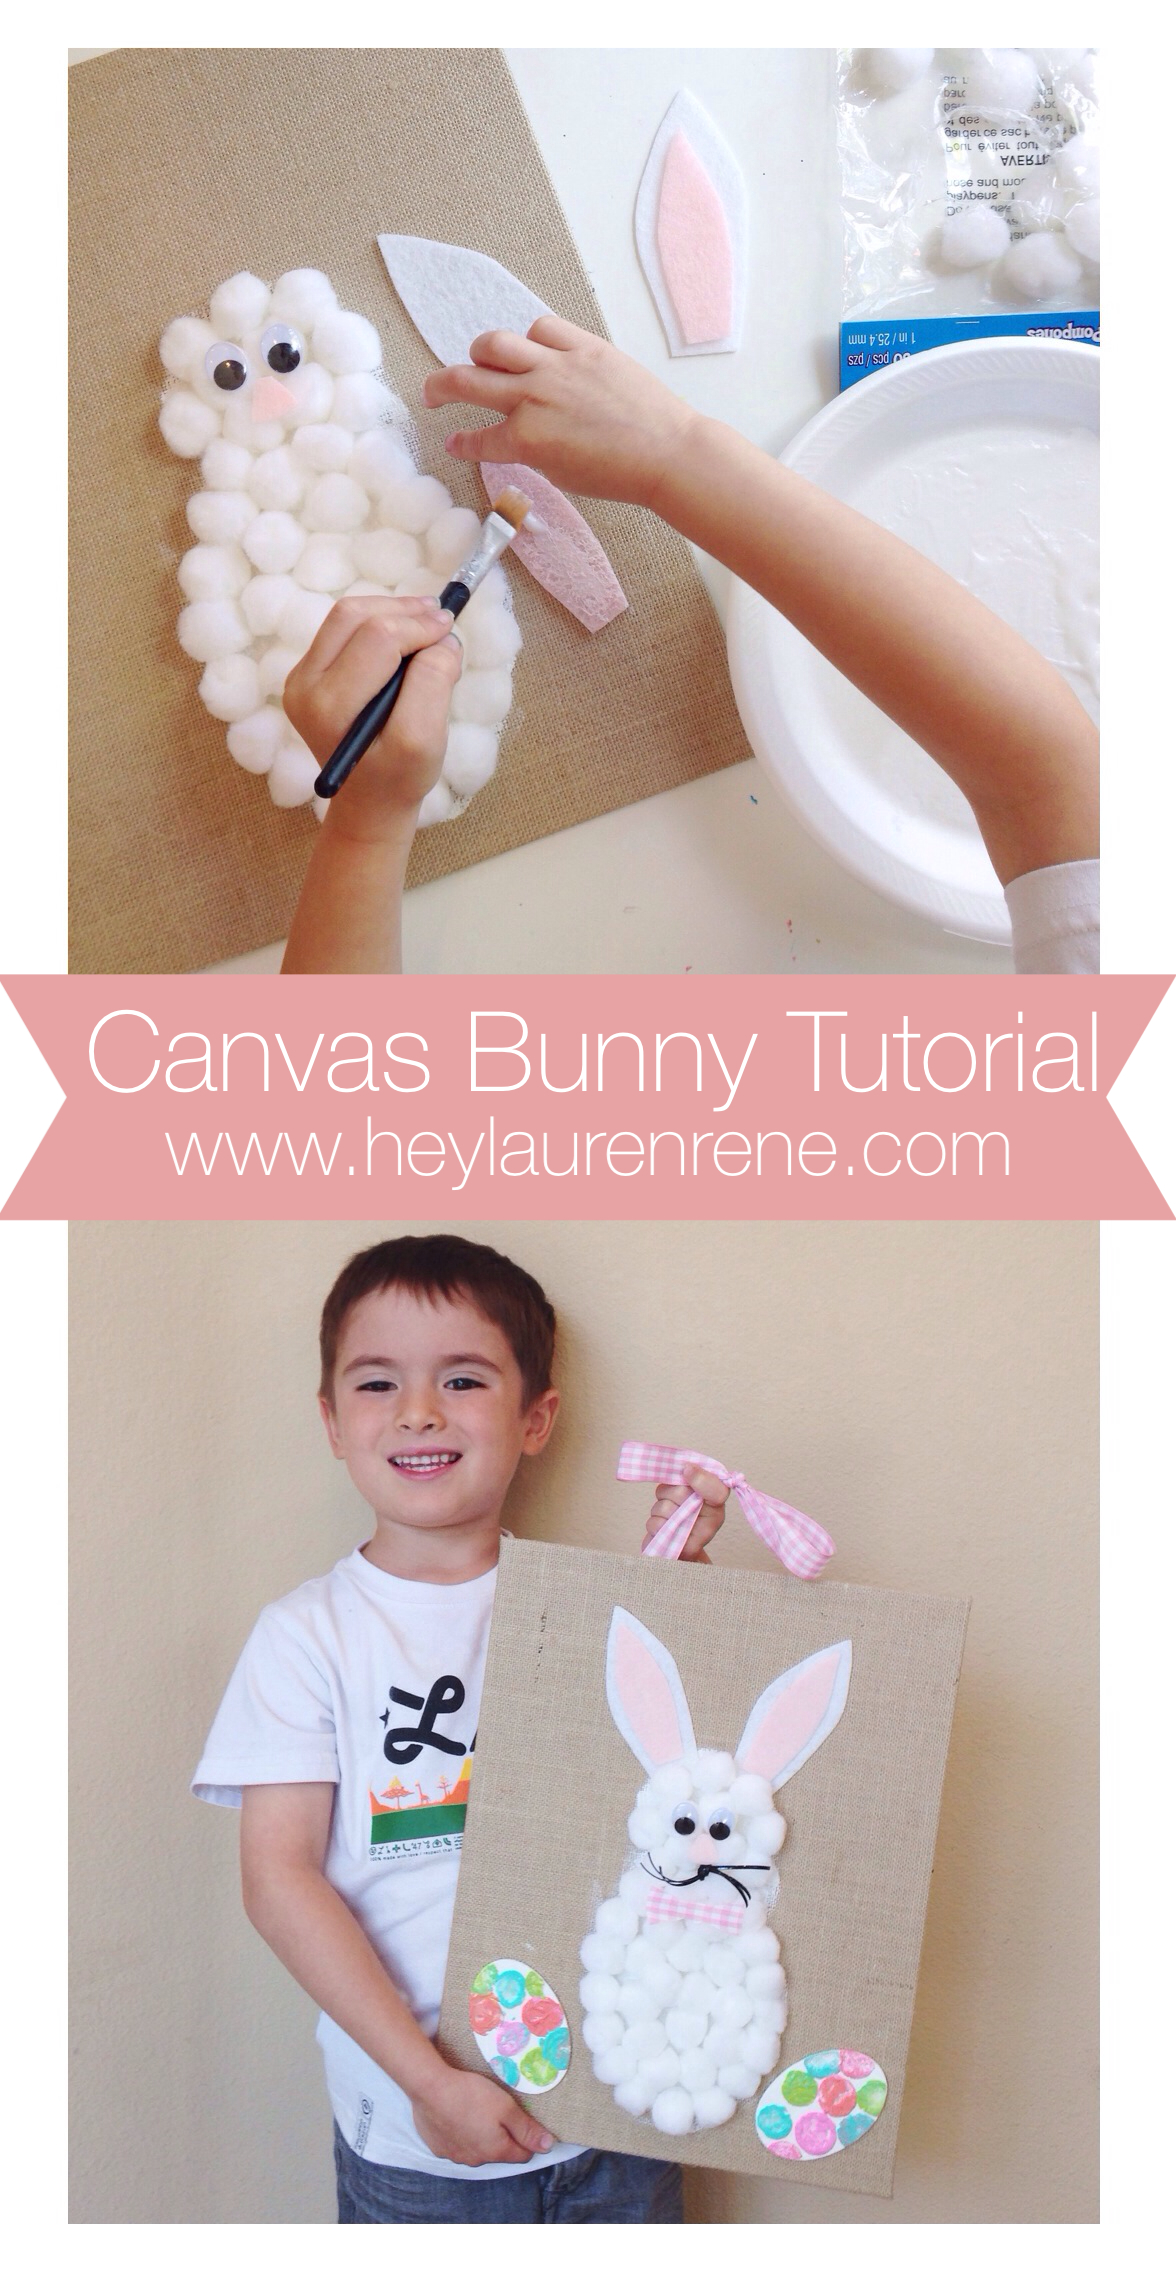 If you are feeling anything like me and want to get in some last minute Easter crafts with the kids, this was a really easy one that Nathan could basically do by himself with just a few items that needed my help. I have tried the whole handprint or footprint thing so many times but I have decided that toddler boys do not have the patience for this (or at least mine don’t) and it always ends in a disaster when they take off running and still have paint all over their feet and hands. Not into it! Stick to this on…here’s what you’ll need:
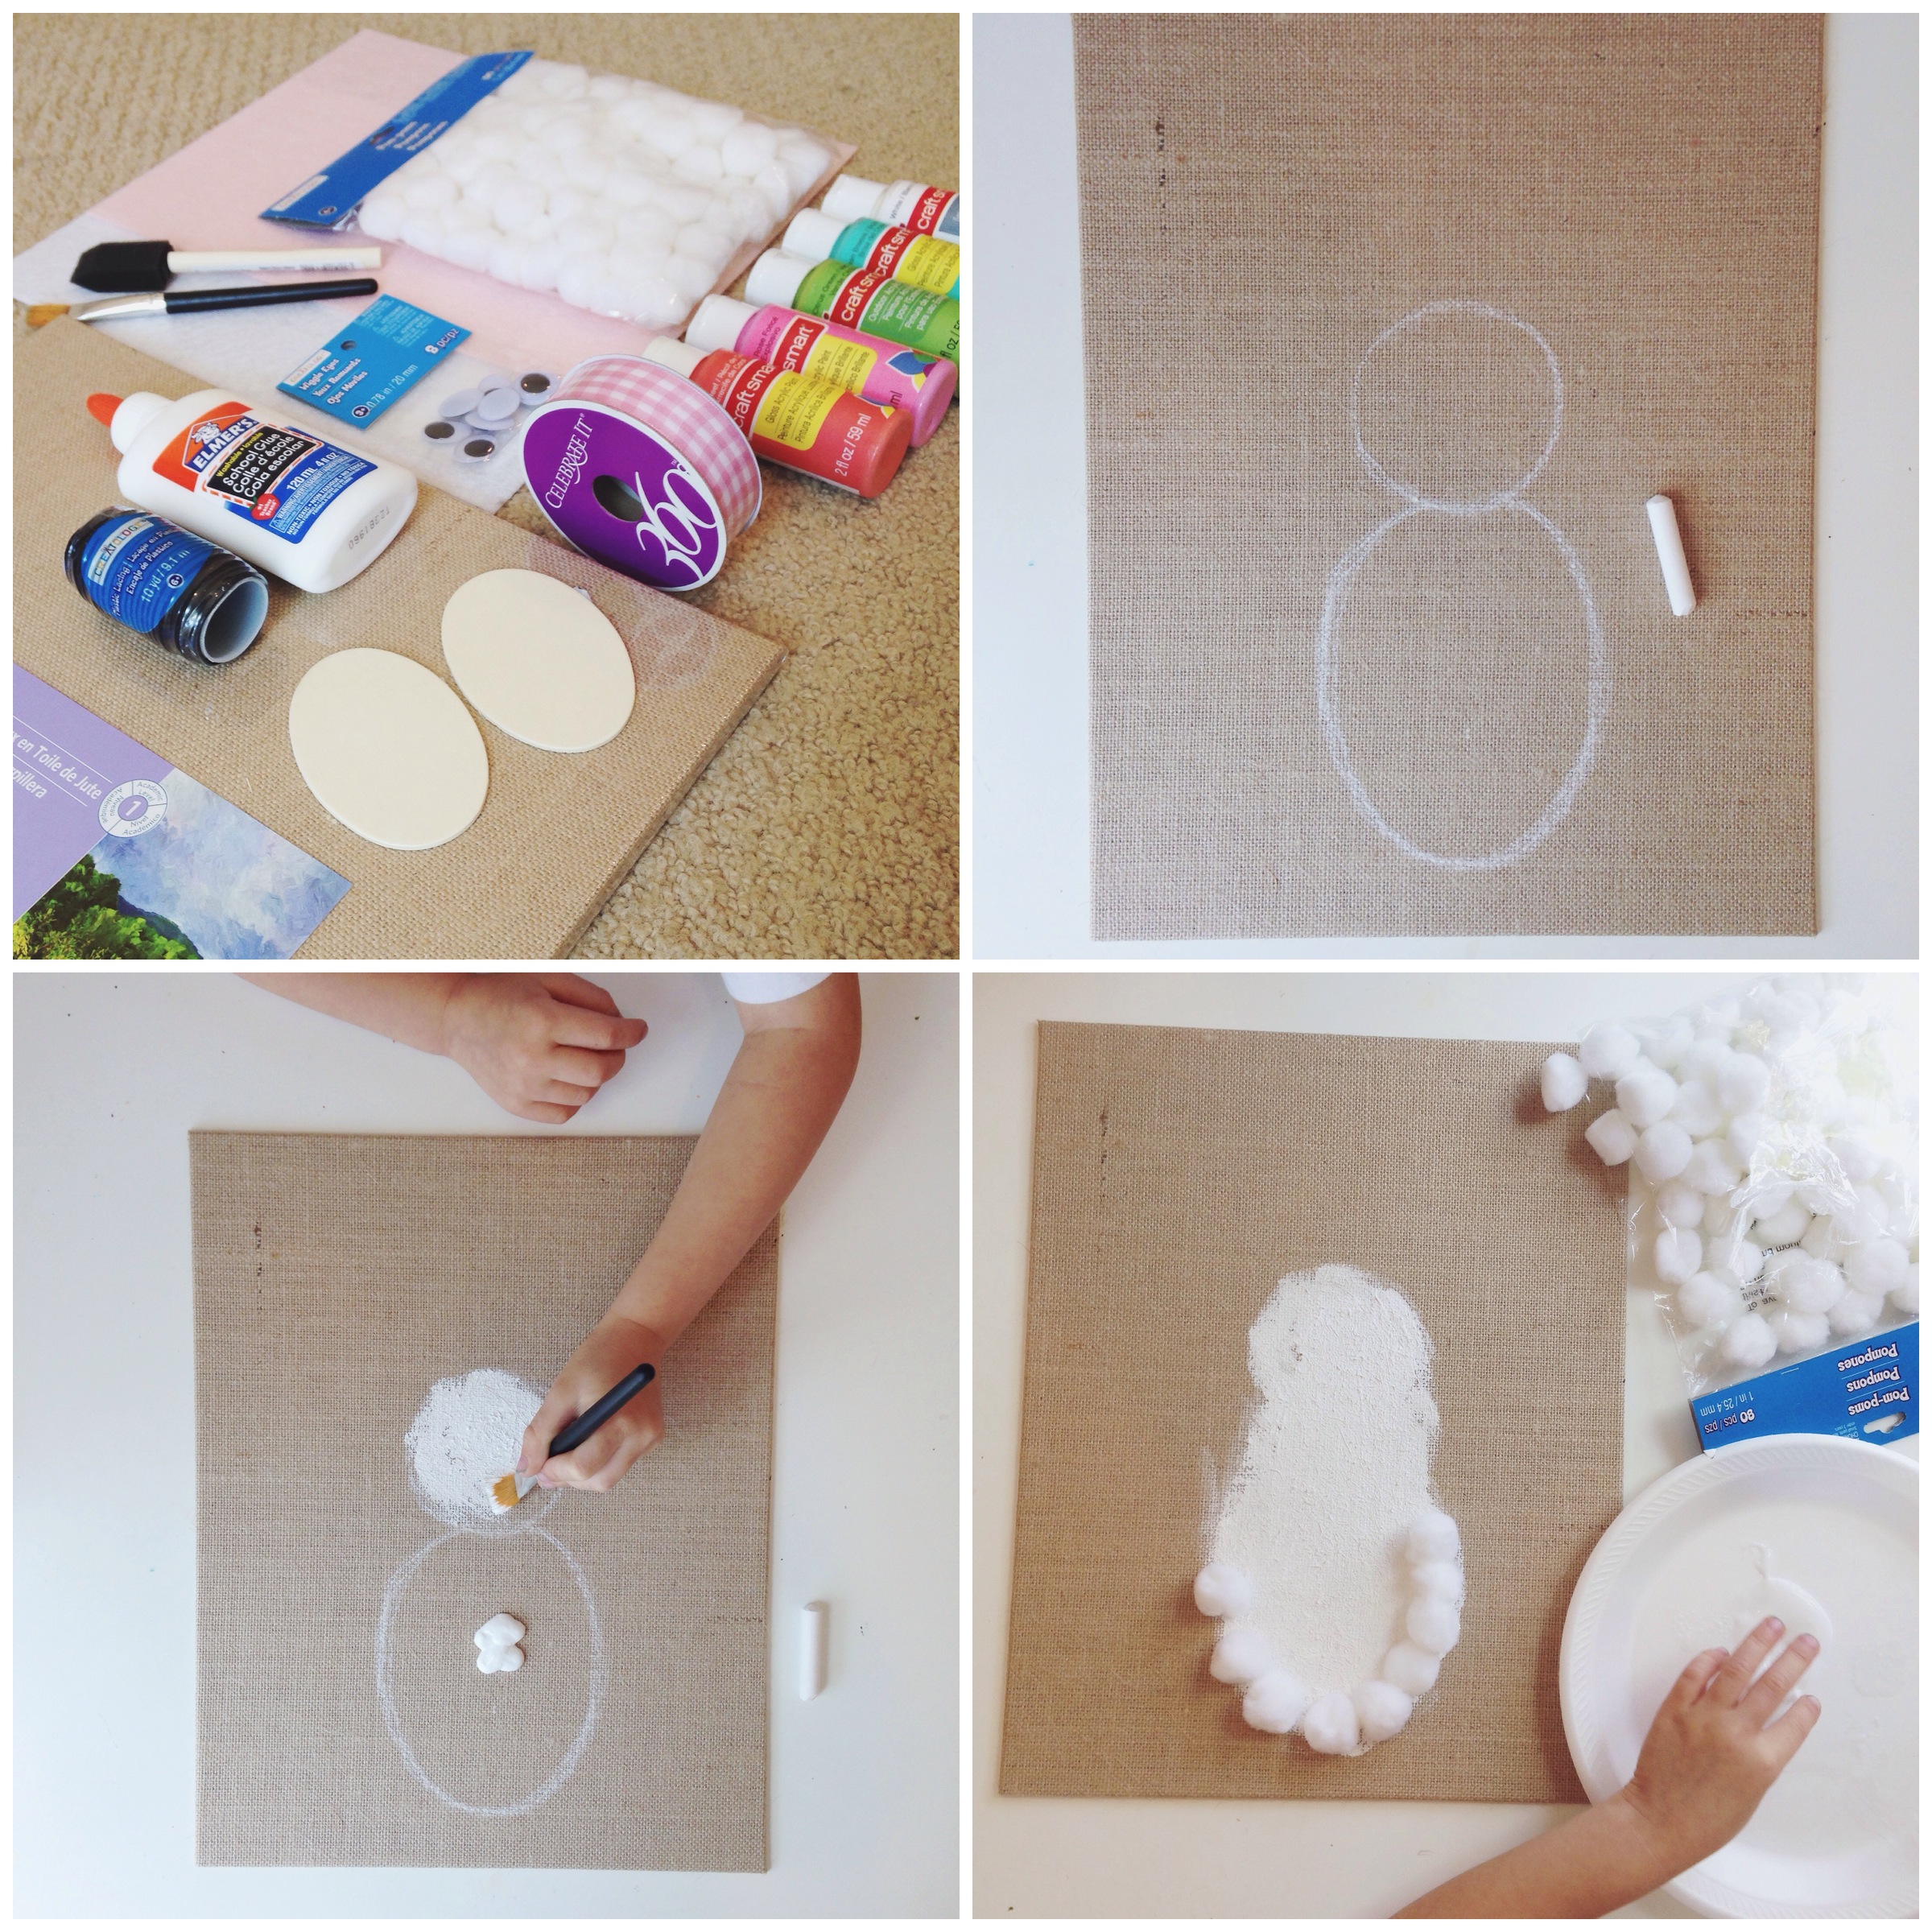
1- Burlap canvas board. You can pick whatever size you would like ours was 11″ x 14″. You could also use a regular white canvas and have them paint the background a fun color as another option.
2- White pom-pom balls
3- 2 pieces of stiff felt- we used white and pink
4- Paint brushes & wine cork- for painting tools
5- An assortment of acrylic paints- make sure you have white
6- Wooden eggs/ovals- Michael’s should have these, flower shaped ones would be cute too.
7- Plastic wiggle eyes
8- Black plastic lanyard rope- pipe cleaners could work too, the rope was just on sale for like $.30 so I got that
9- Ribbon of your choice
10- Elmer’s glue
11- Piece of chalk
DIRECTIONS:
It’s pretty self explanatory from the photos but I will share the parts Nathan did and the parts I helped him with.
- First I started by drawing an oval for the bunny body and a circle for the bunny head with chalk
– I squirted some white paint in the middle of them and let Nathan fill in the two shapes with a brush
– After it dried a little I put Elmer’s glue on a plate and had Nathan outline the shape he just painted with glue dipper pom-poms. It’s better to have them do the outline first, and then it was easier for him to fill in the rest after.
– We put the eyes on together and I cut a little nose from the pink felt that he added glue to and put on.
– For the whiskers I cut three long strands the lanyard rope and put them together and tied one knot right in the middle and trimmed them then glued them on.
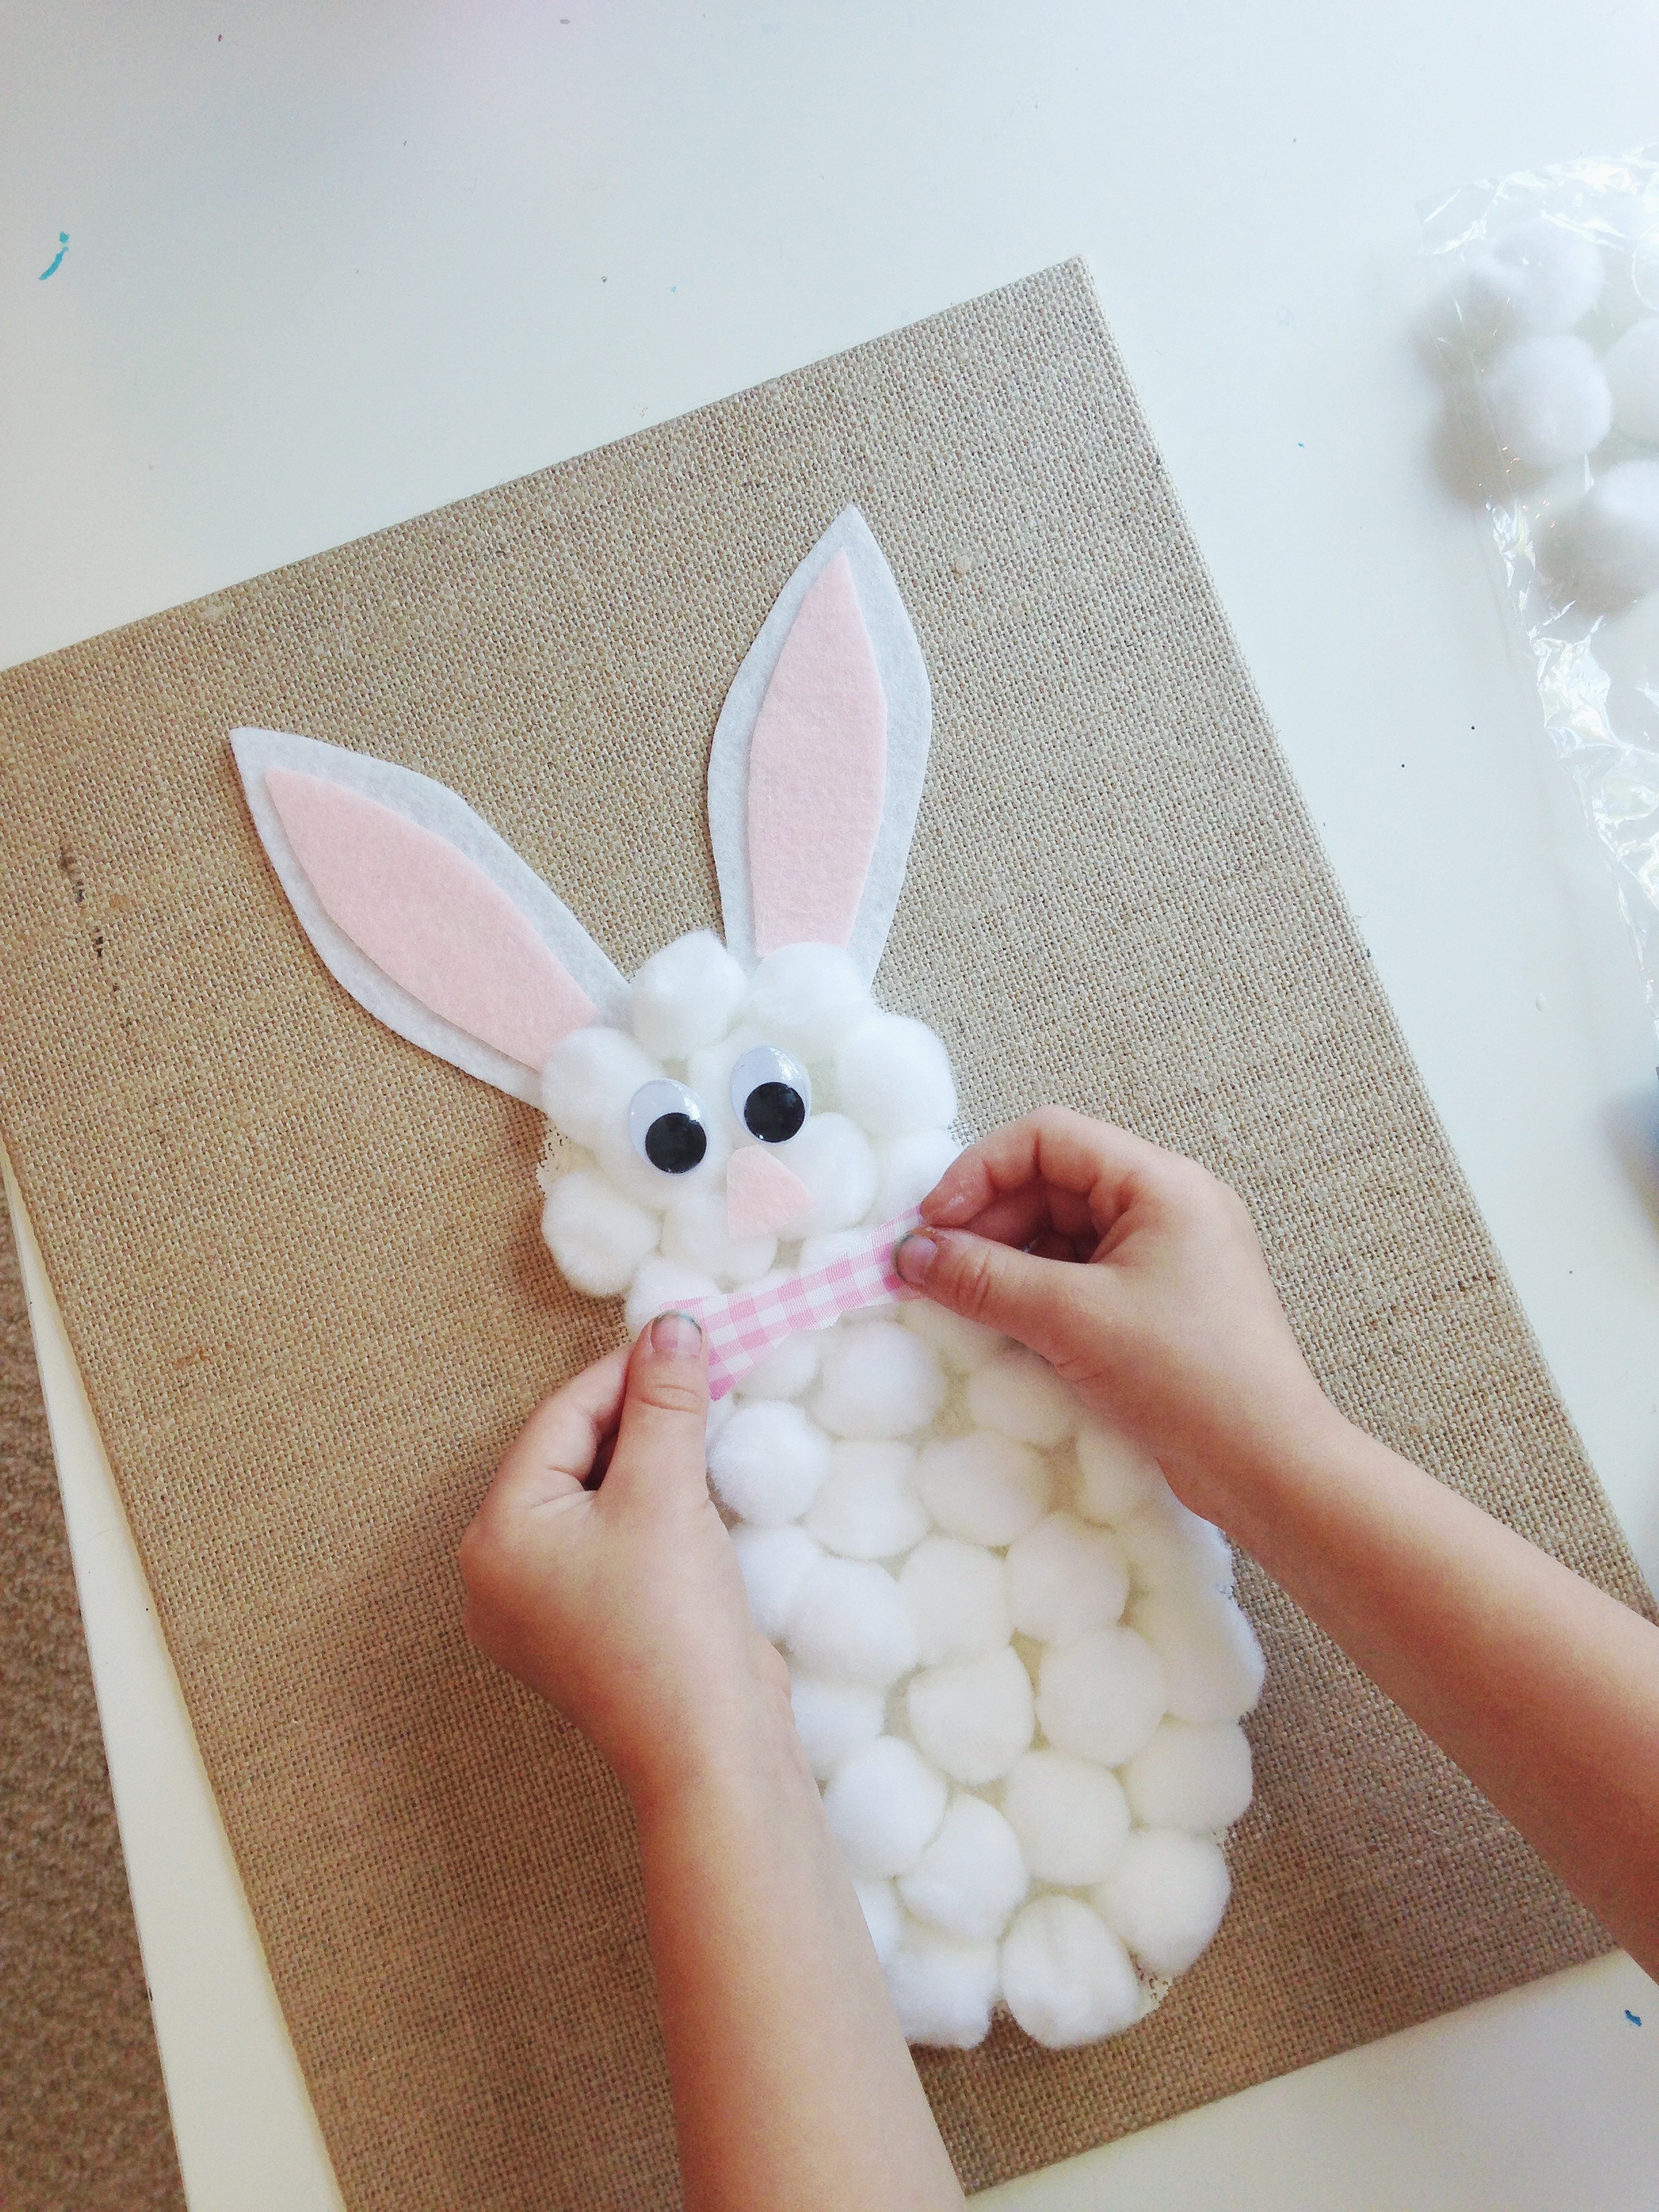
- I cut out two white ears from the felt, and then two pink parts for the ears as well. I gave them to Nathan to glue and assemble and add to the top of his bunny’s head.
– Nathan said he wanted to add a bow-tie and I thought that was a GREAT idea. I cut one out of the ribbon and he glued it on and was quite happy with his idea :).
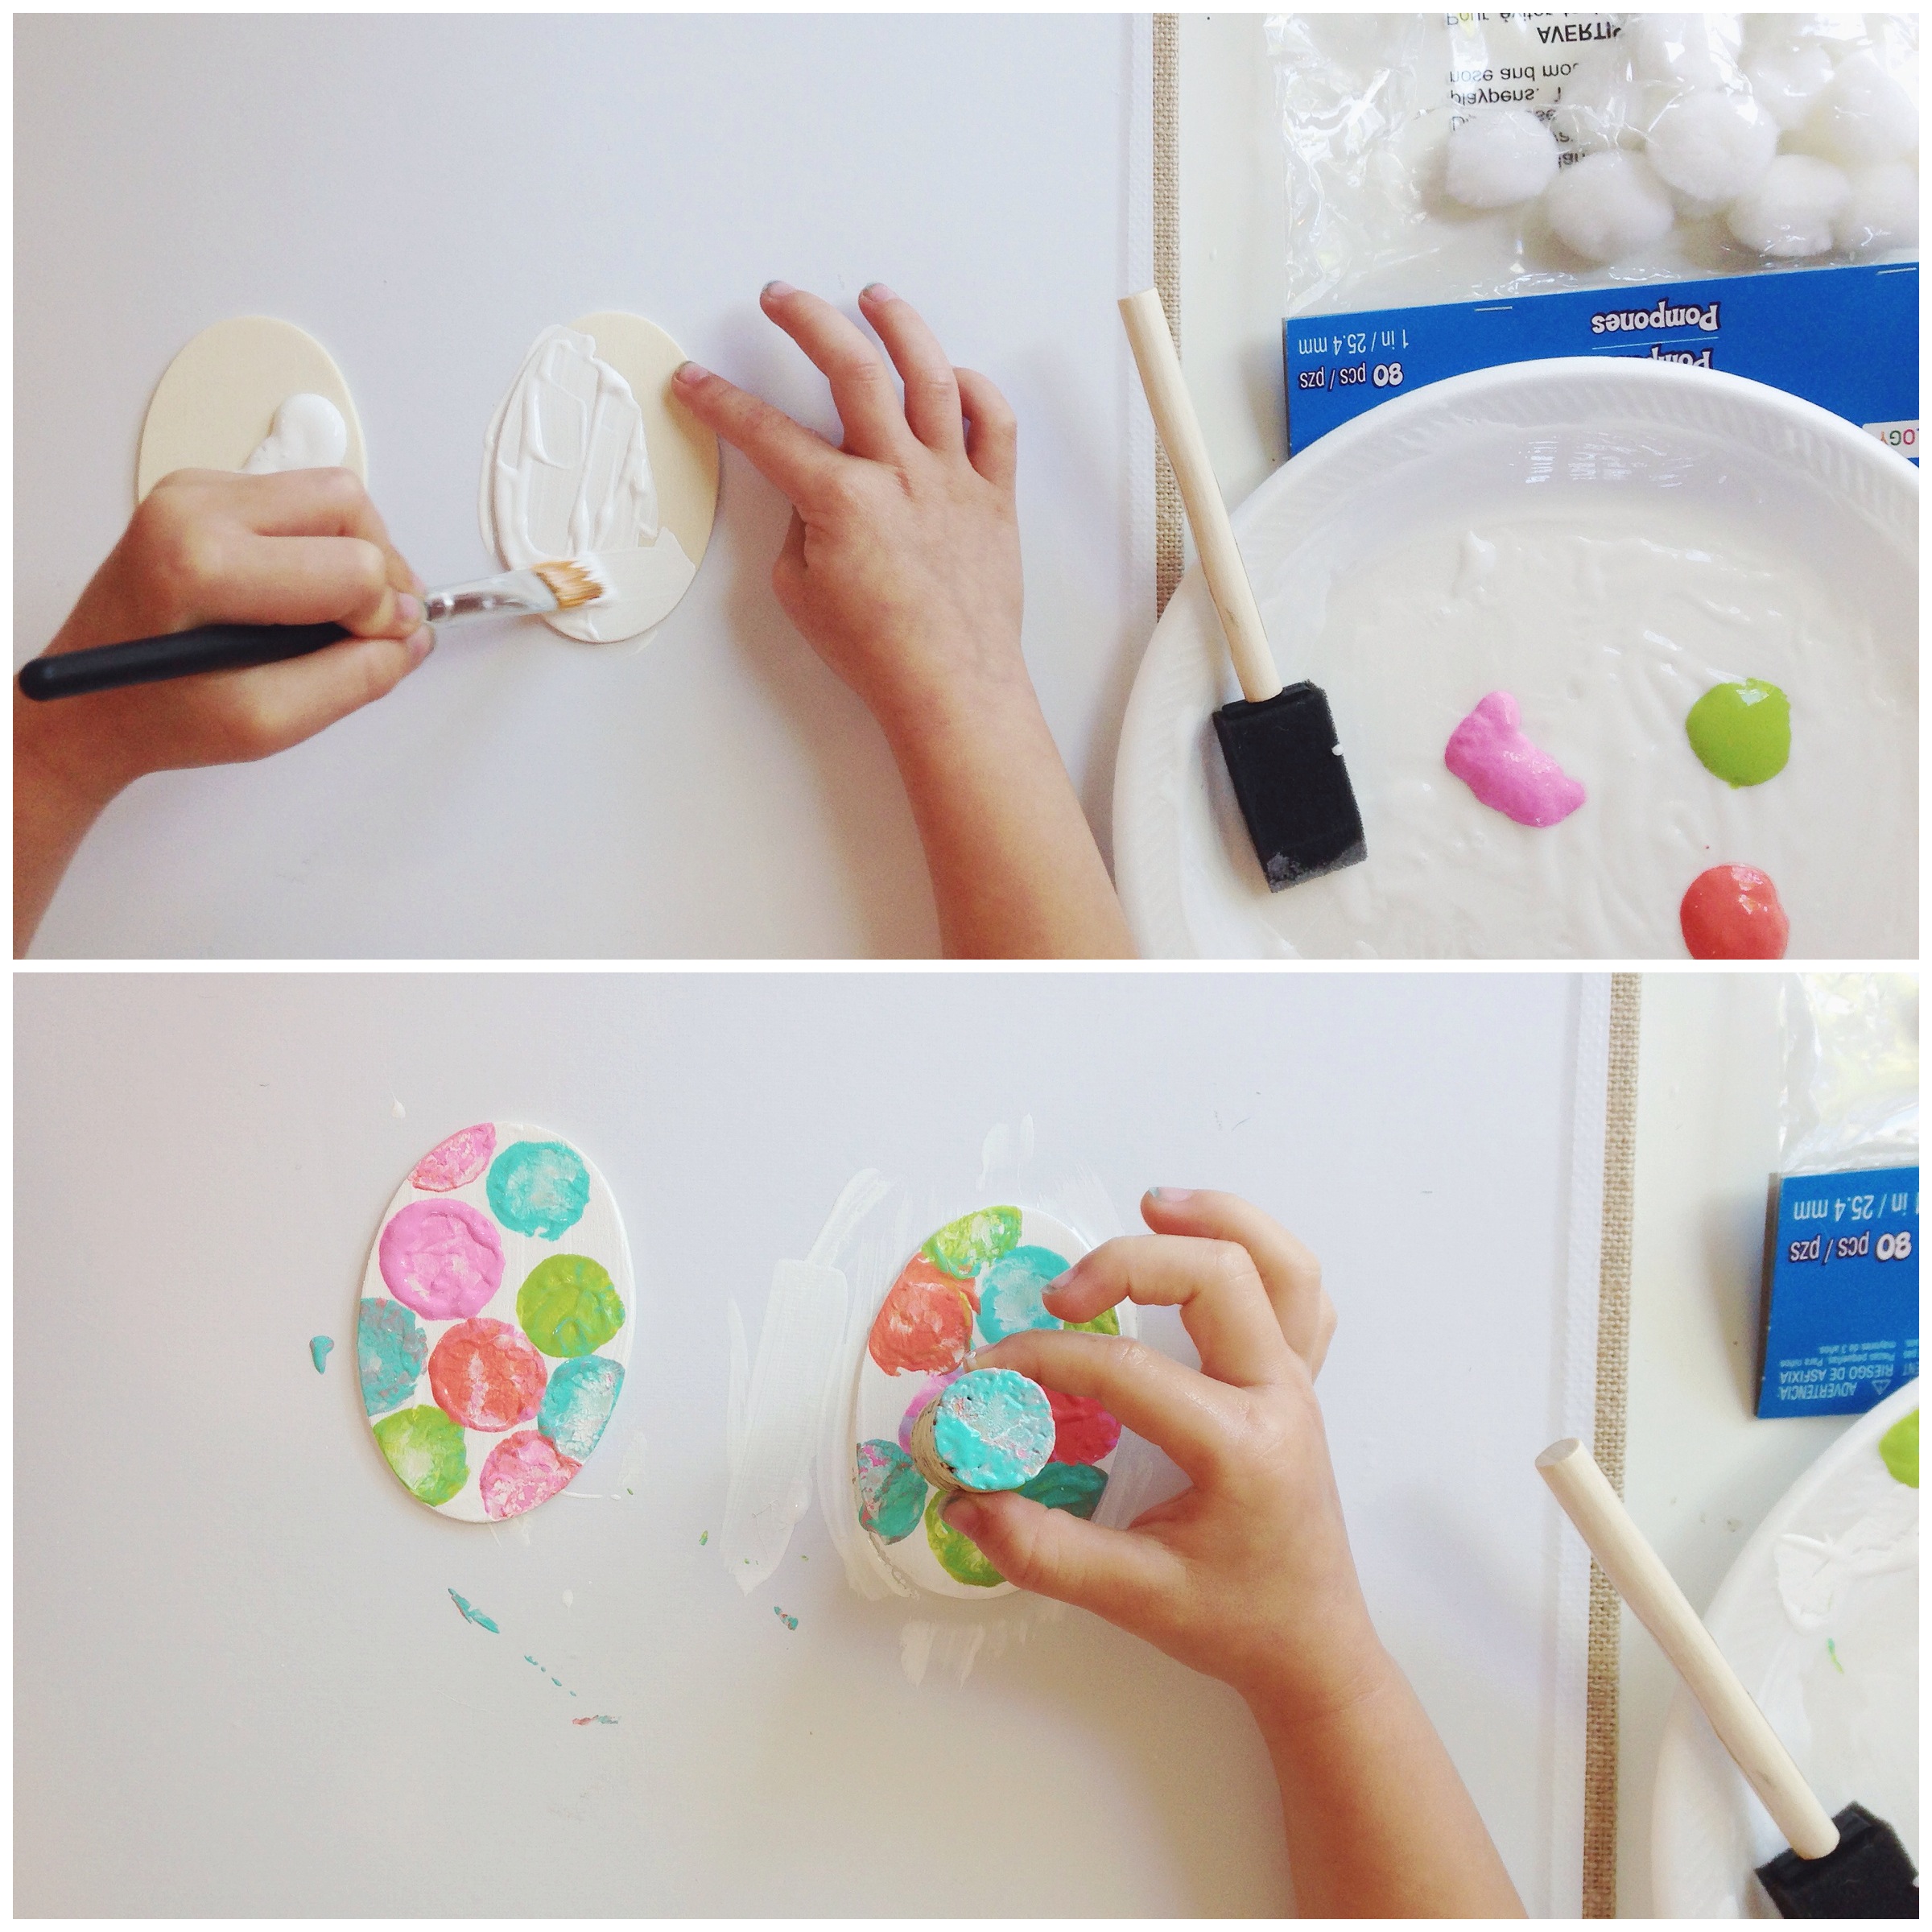
– While the bunny dries I put out the wood eggs and had Nathan paint them with his brush and then use the wine cork to add any dots he wanted to. After those dried we glued them to the canvas.
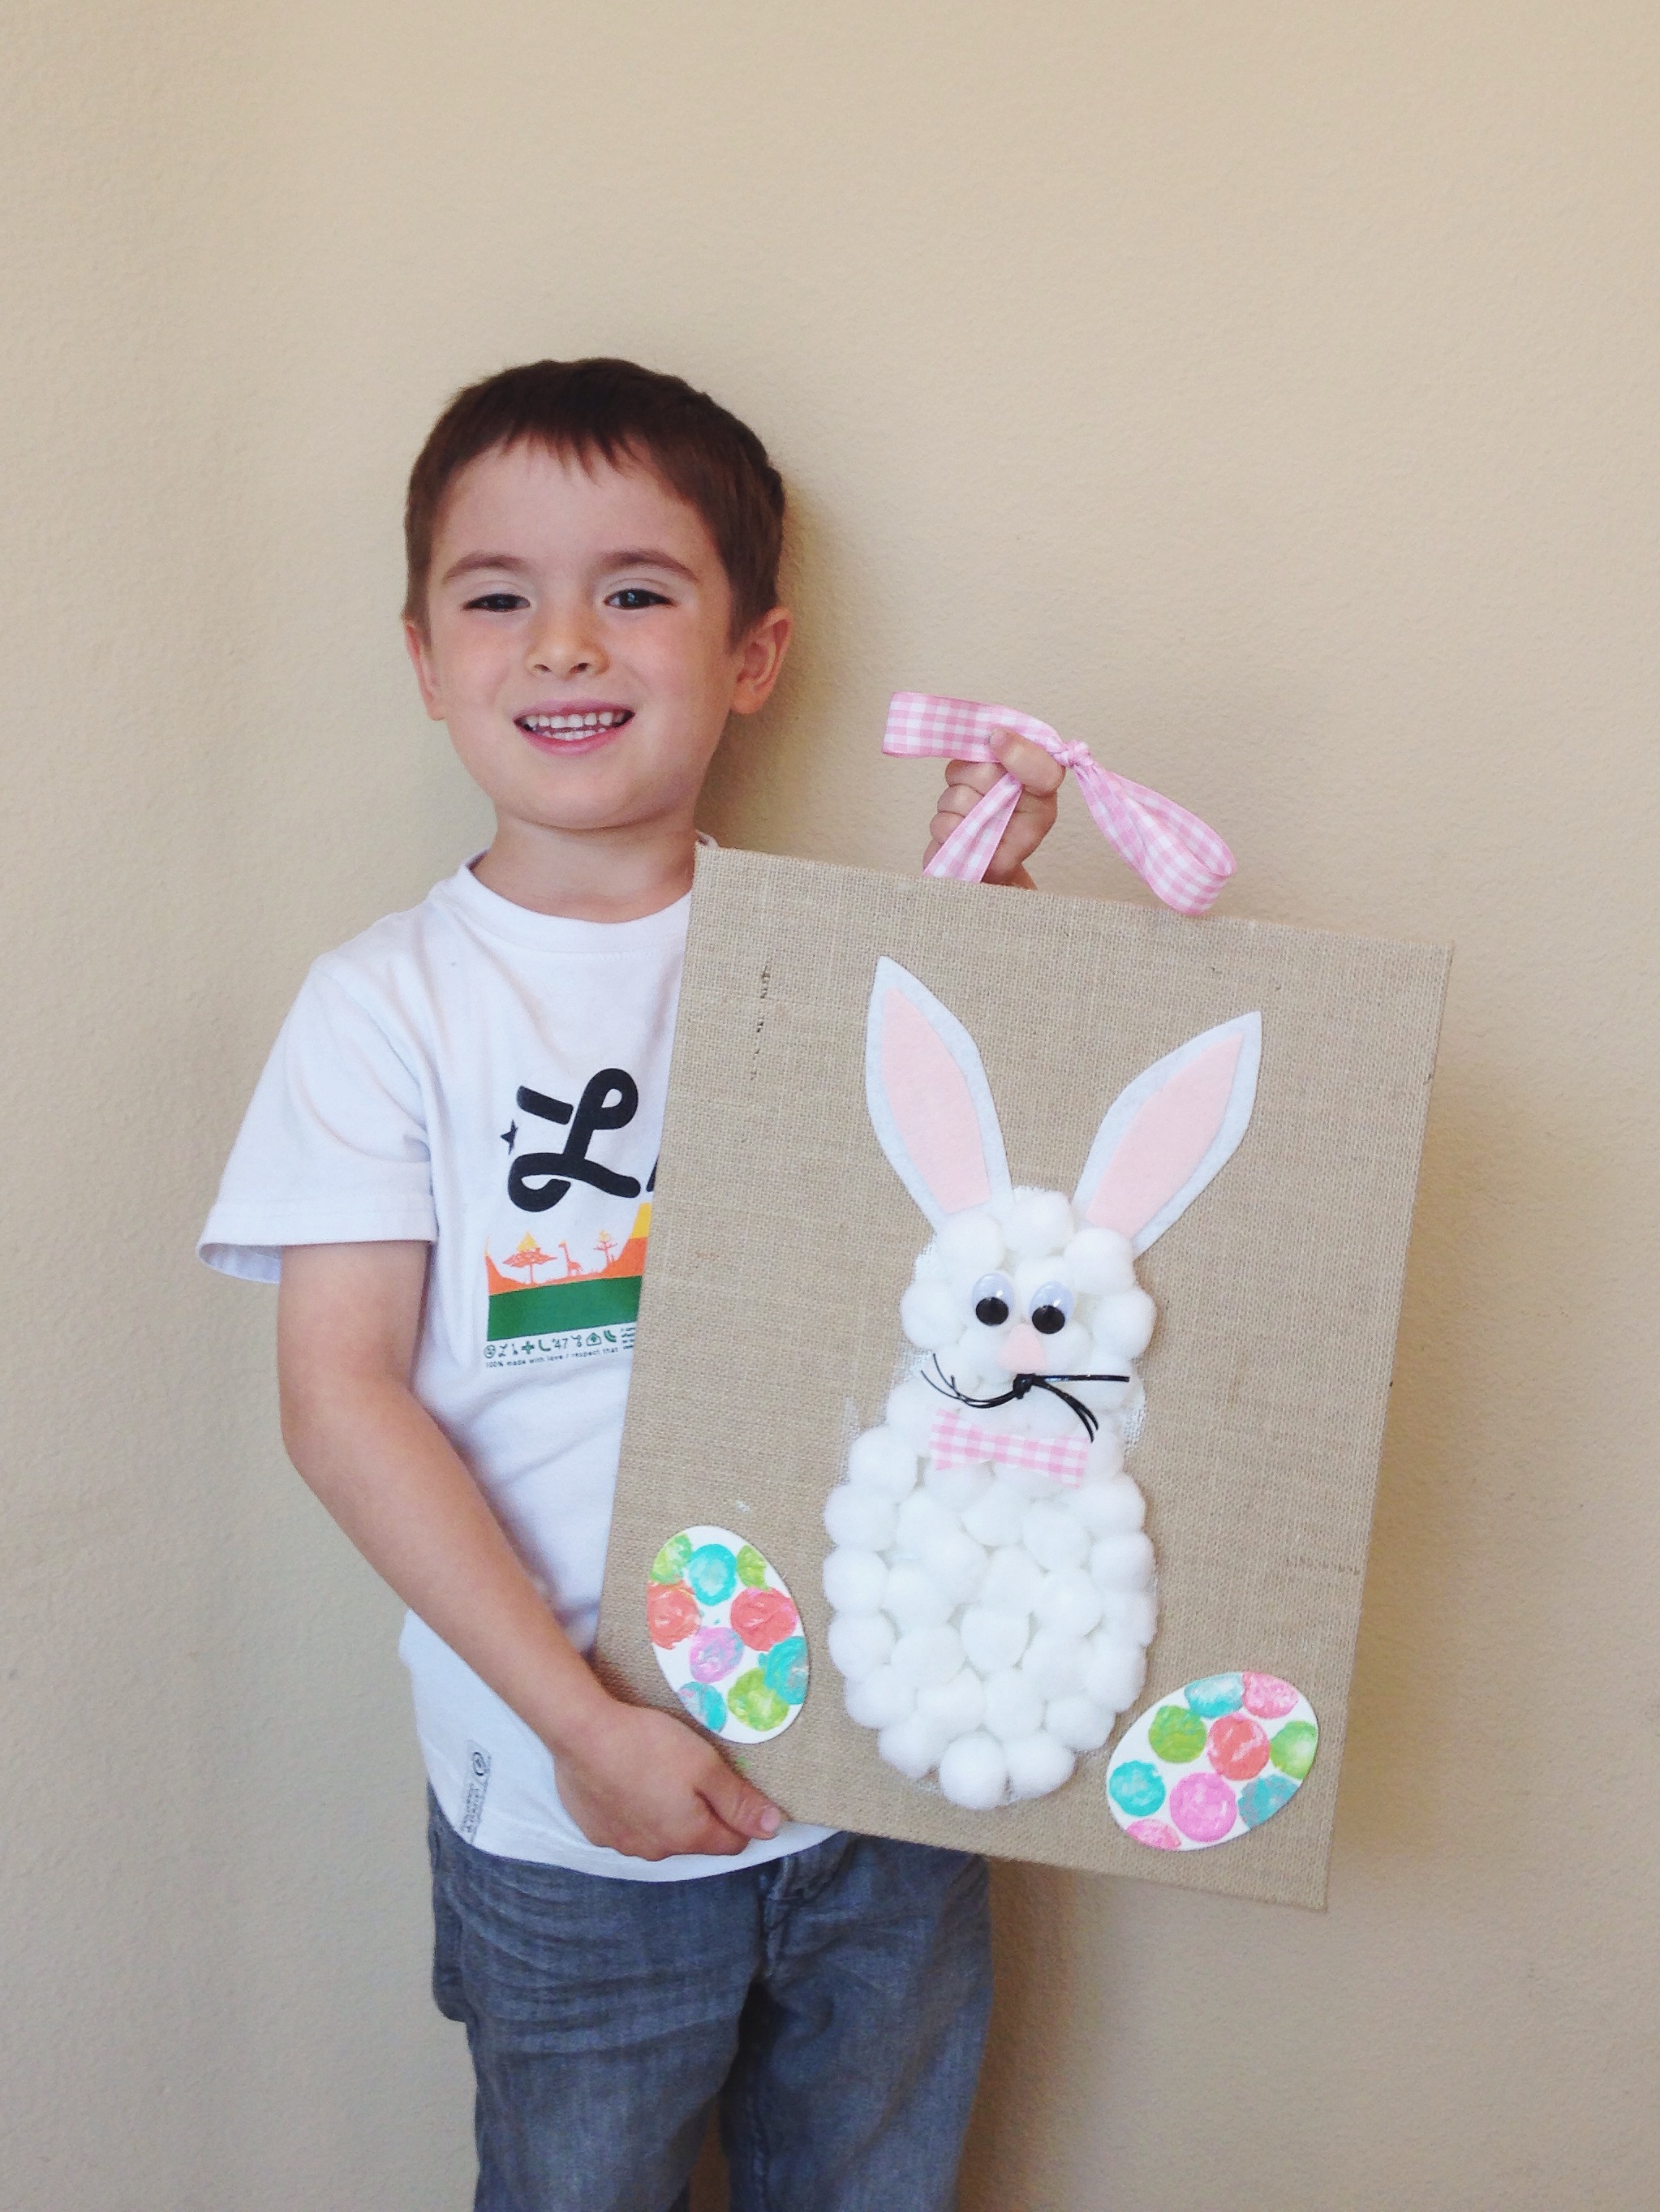
– If you want to hang your canvas I took ribbon and tied a double knot bow, then stapled the two long ends of the bow to the back of the board.
And that folks is all there is to it!! He was proud of this one! ![]()
And Mama likes it too…
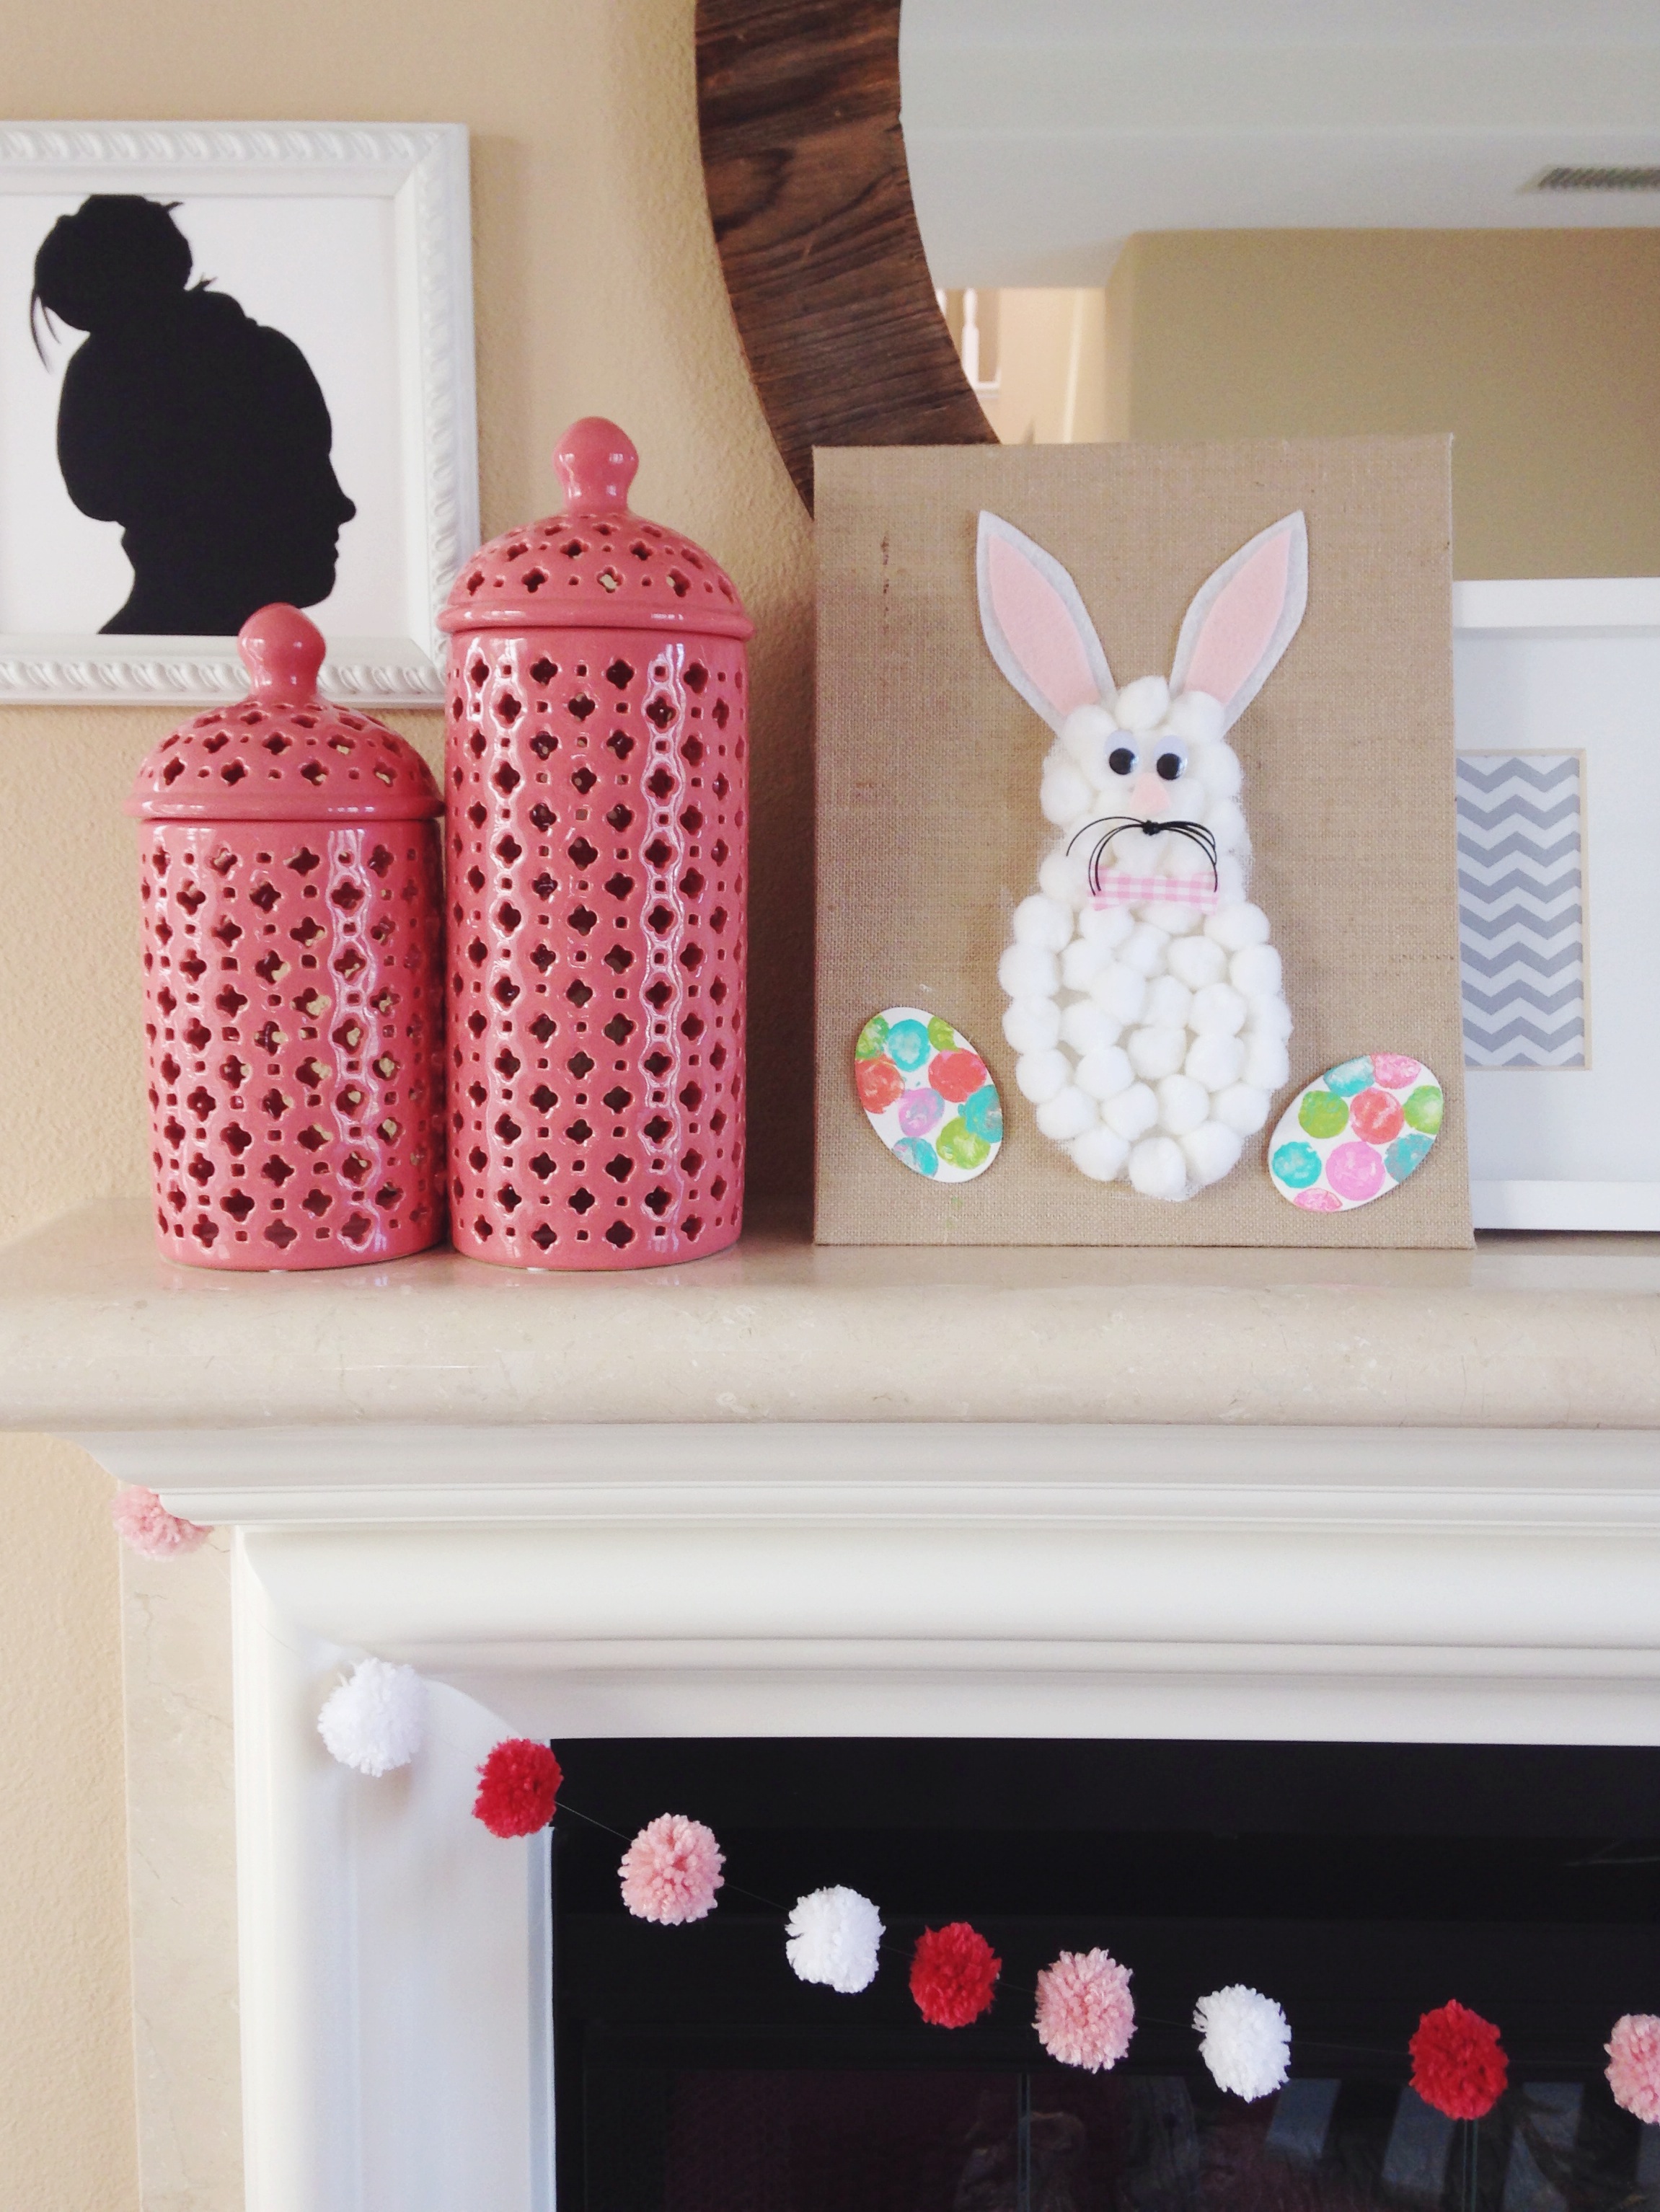
Chances are this will be my last post until next week with the way things have been as of late….soooo HAPPY EASTER and happy crafting to all of you!

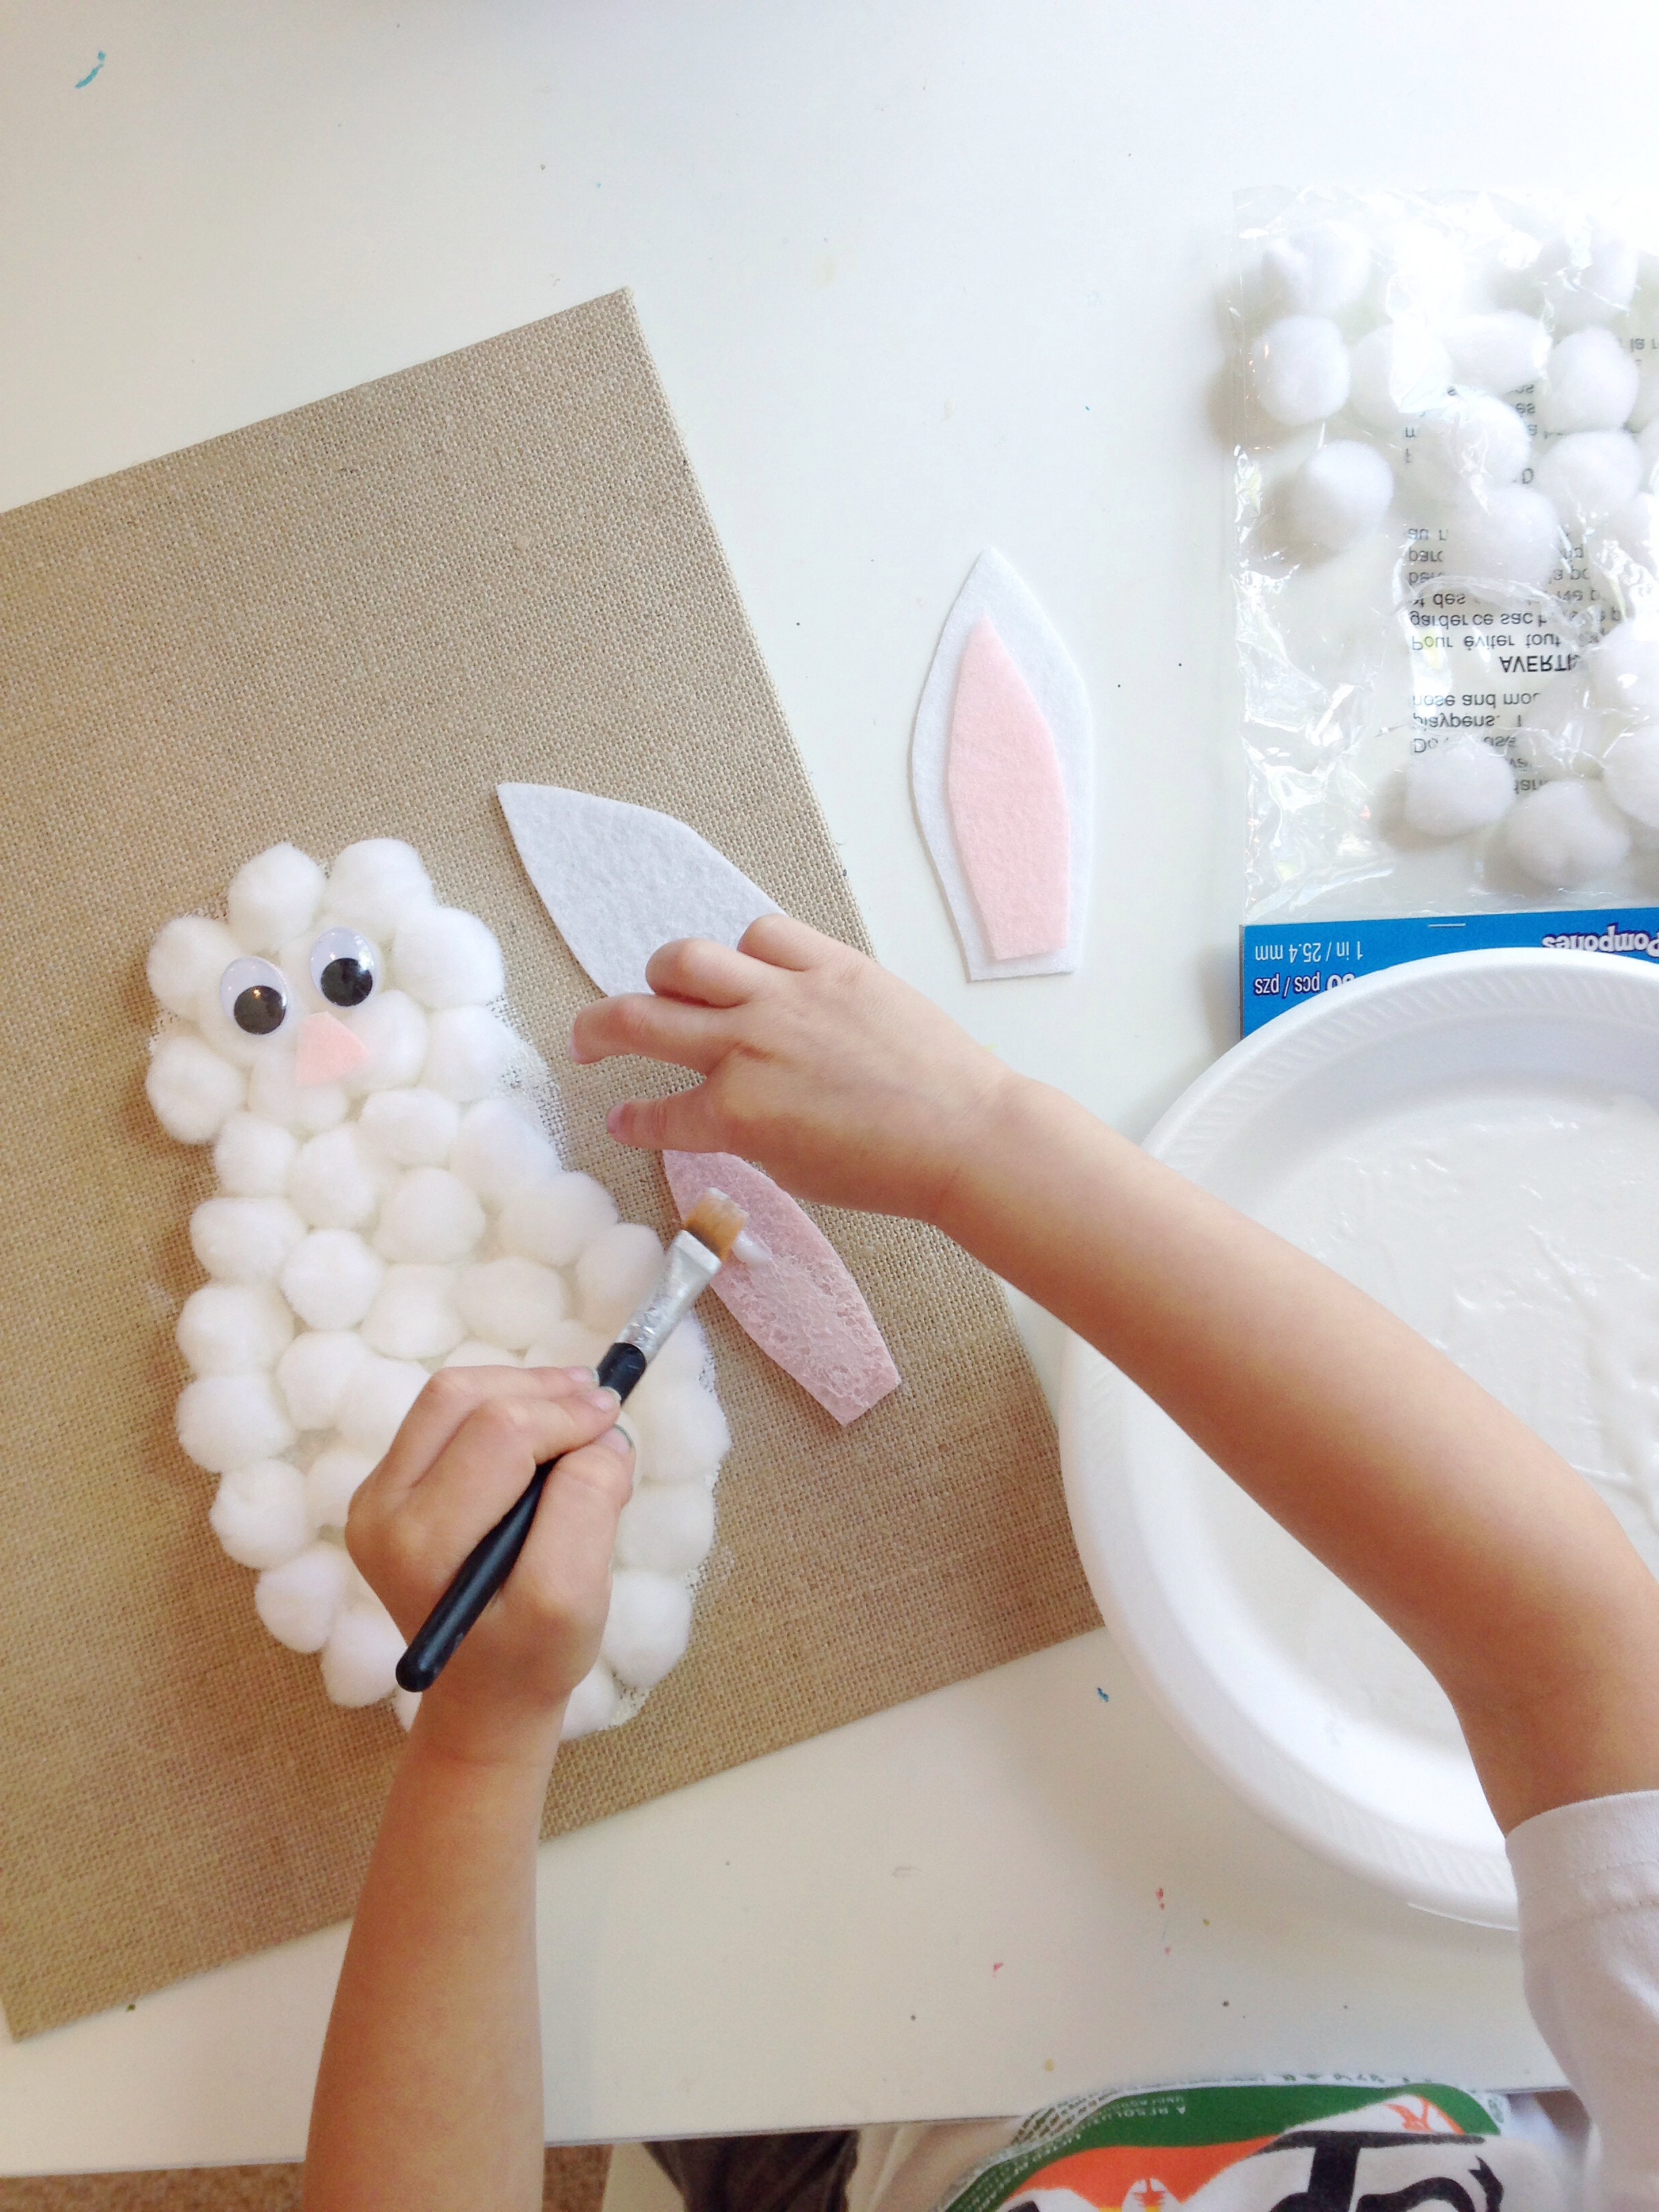
What fun! He did such a great job.