There is nothing that makes Nathan more proud than showing off his artwork, especially pieces that we hang on the fridge or the walls. The only problem is he comes home with piles of art every week from preschool and I can’t possible find a place to hang it all. I have been using the app called Artkive via my iPhone, and I totally love it. You can take photos of their art, save it to the app with the details of when it was created, and even have a book printed straight from the app. I keep a few of our favorite pieces he has done and unfortunately the rest get to say hello to the recycling bin. The Artkive app has made me get over the guilt of throwing away some of his creations.
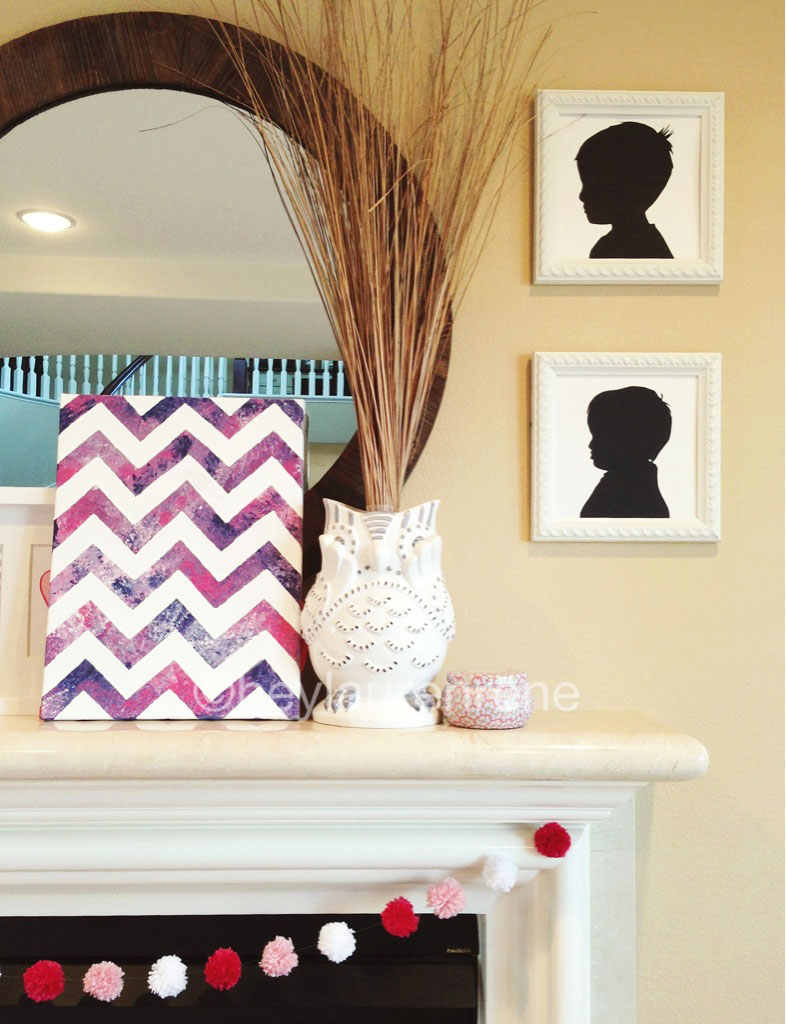
I thought it would be fun to get Nathan involved in making a permanent piece of art for one of our rooms. Something he can see everyday that would make him shout “that’s my painting…I did that”! And let’s be honest here…..something that mommy can look at everyday too and think, “hey that actually looks pretty cool!”.
So here is a simple DIY painting we did together. We already had most of the materials around the house, and just went out and got a canvas at Micheal’s for 50% off. You have to love a piece of art that ends up costing less than $5 and was great, messy, fun for your toddler.
Here is what you will need:
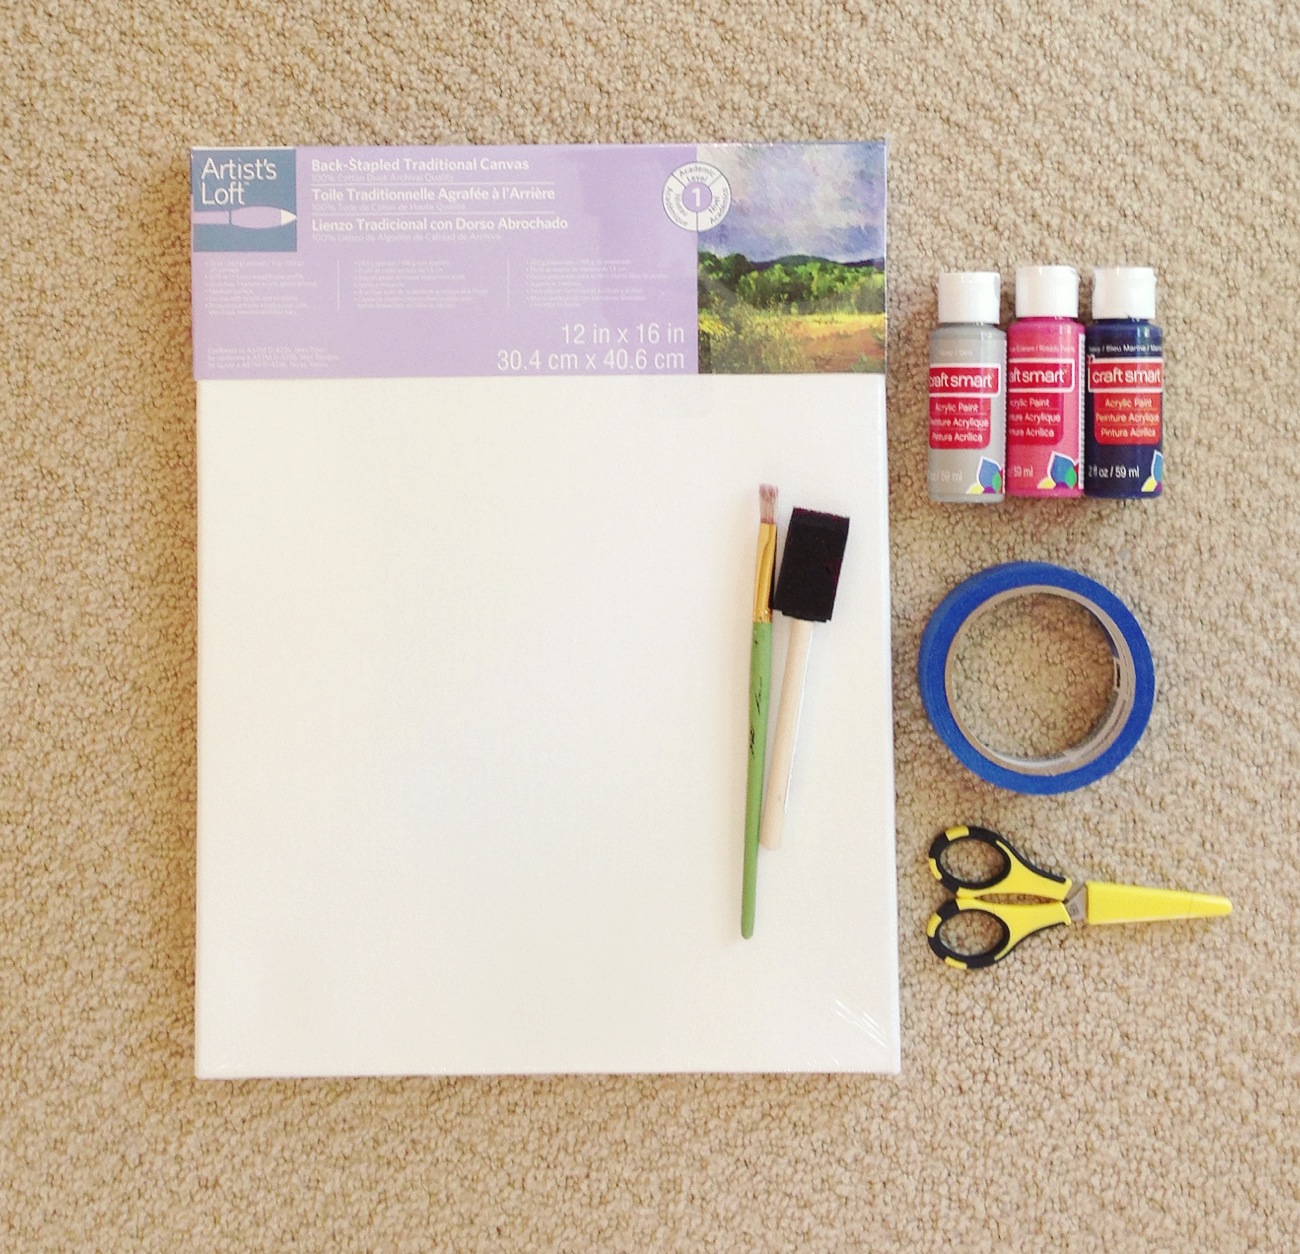 A canvas size of your choice, painters tape or masking tape, acrylic paints that “match” the room your art is going in, scissors, and some brushes. Something that is not pictured that we ended up using was a regular household sponge. I cut it into pieces and it was easy for him to dab paint all over the canvas in a fun way.
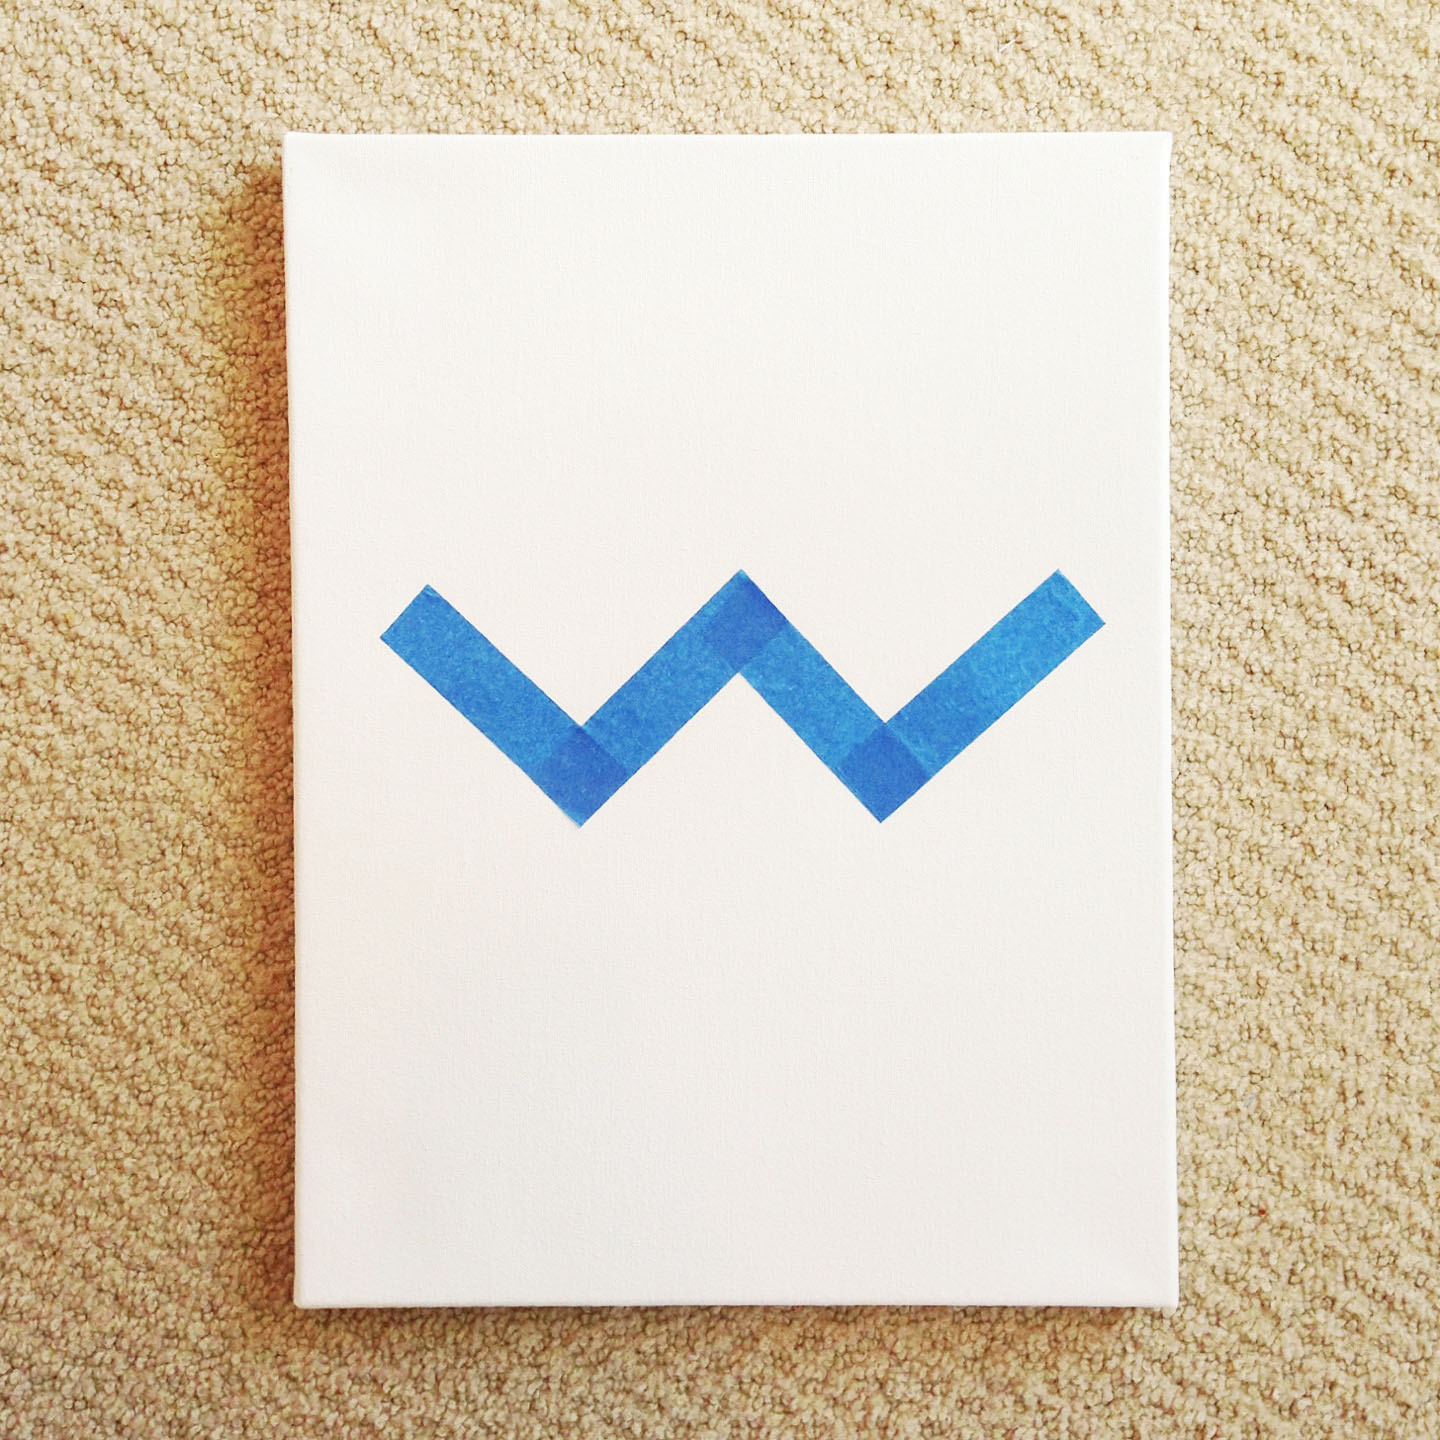
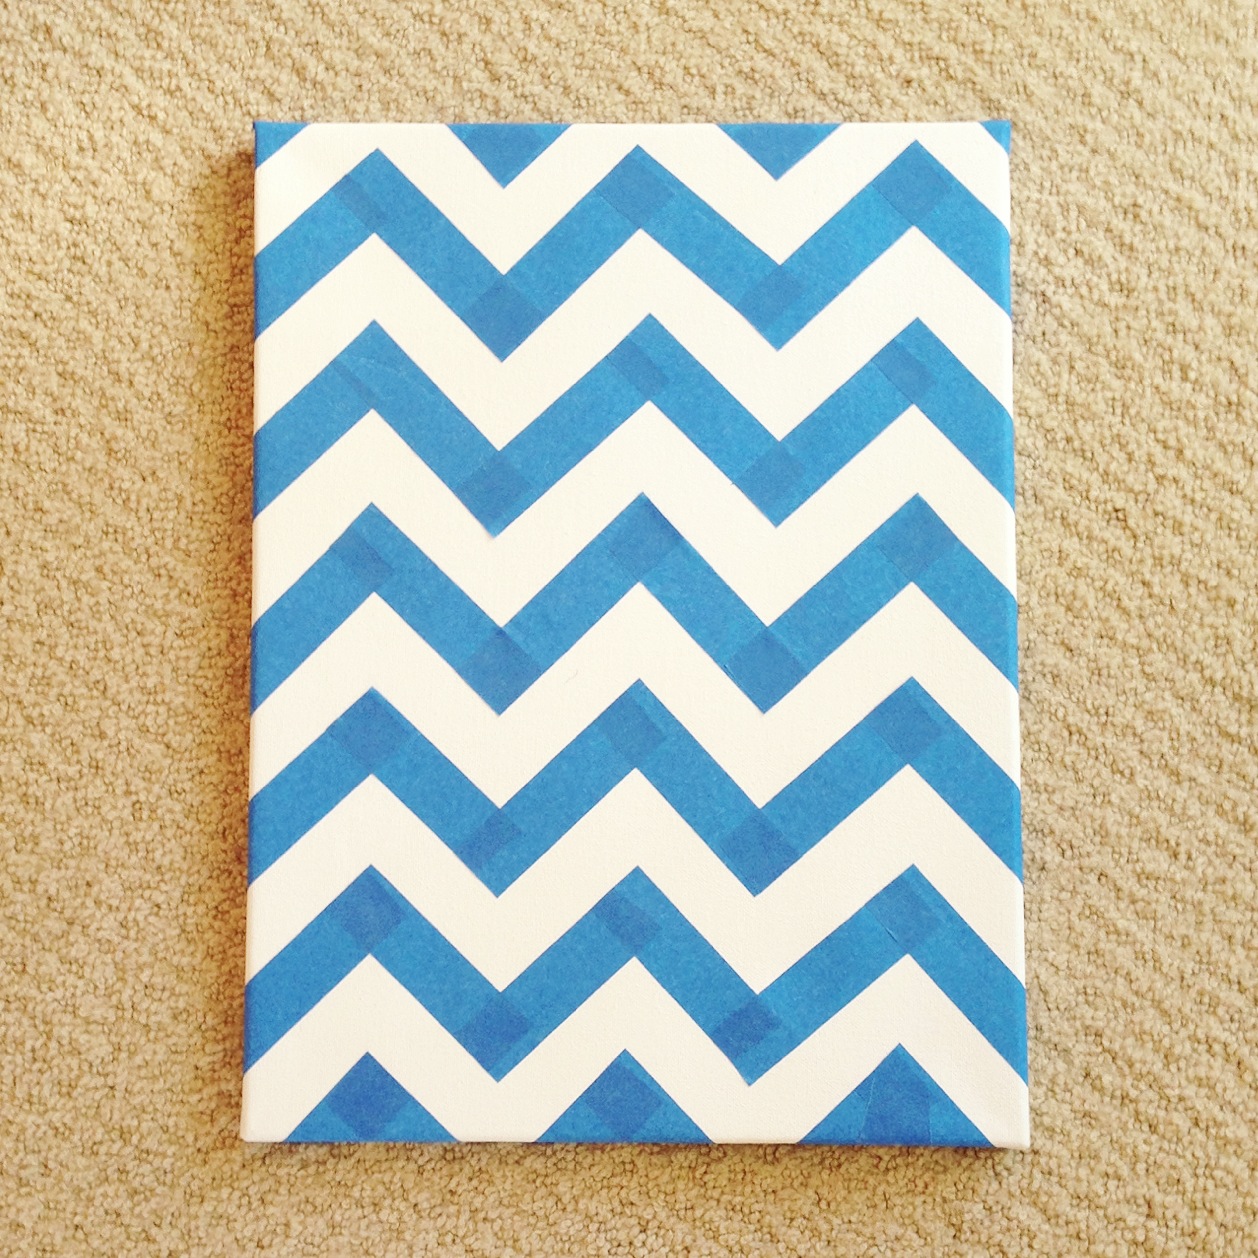
The next series of photos is where Mommy comes in to help. All I had to do was tape off the pattern I wanted and the rest was up to him. I did a simple chevron pattern. You could do stripes, and random pattern, or even use sticky letters and write out a quote or their name. You just want to mask off whatever you want to stay white. When doing anything chevron I like to start with a centered “W” in the middle. This way you can continue the pattern easily and know everything is going to line up when you are done.

When you are done just hand over the canvas to your kiddo and let them create their magic. I think the next time we do this I will quickly use white spray paint and go over the top of the tape to “prime” the canvas and prevent some of the paint bleeding under the tape. It’s not necessary but I think you will get cleaner lines, and also your child will have a totally blank canvas.
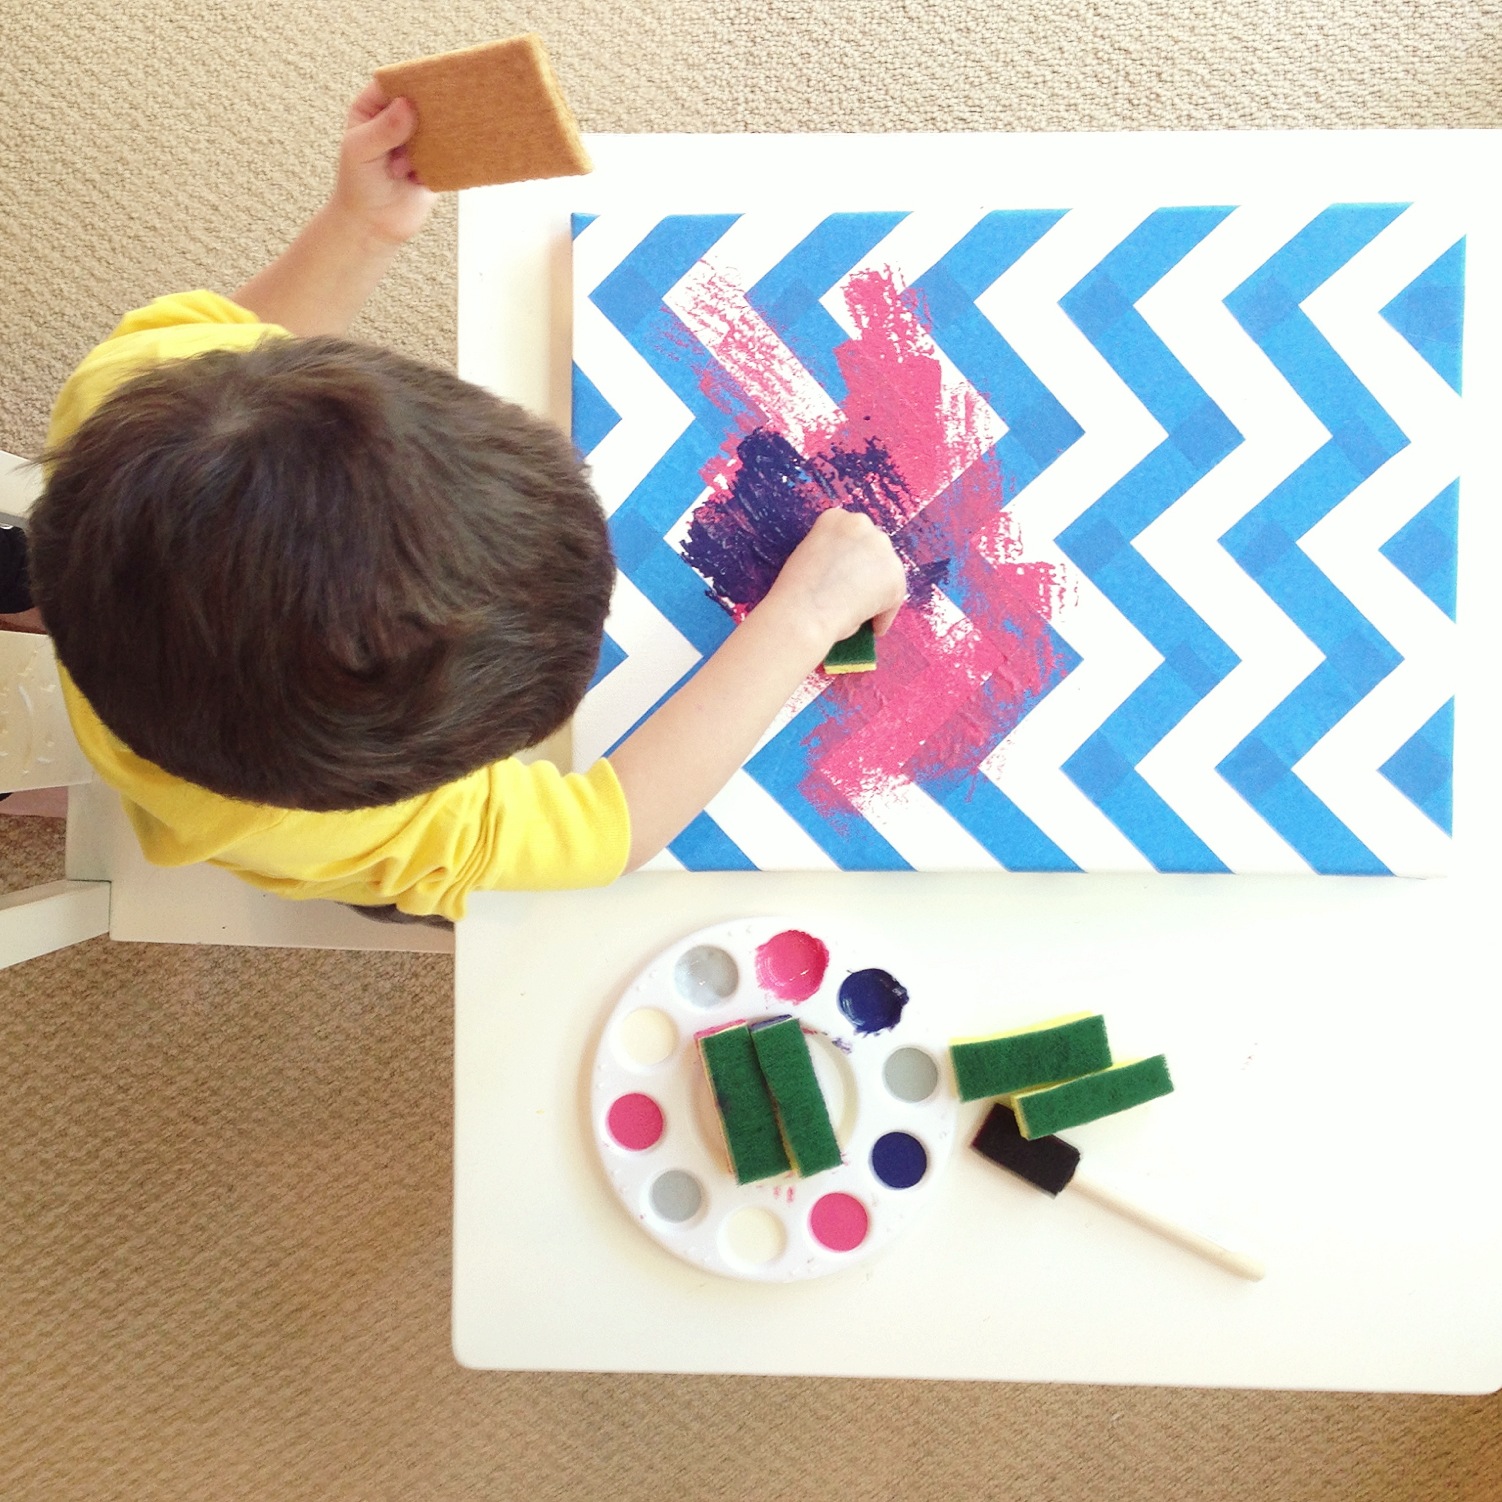
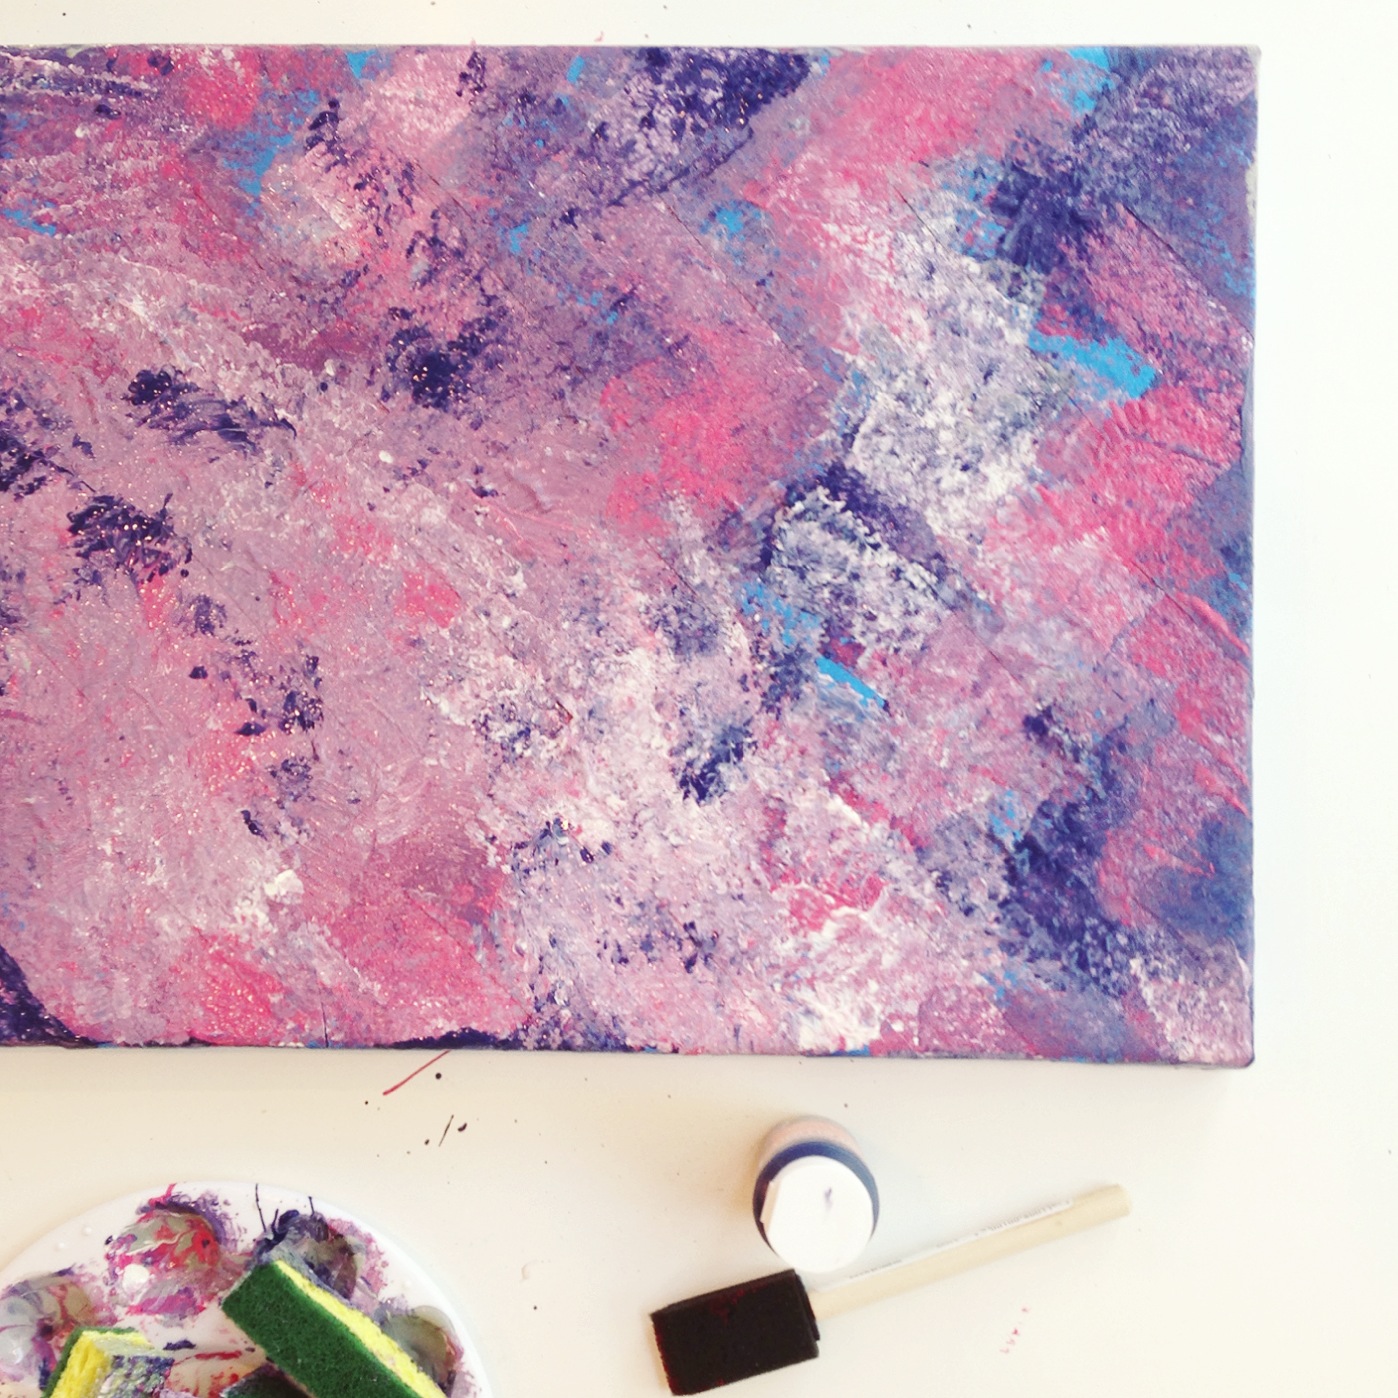
Once the paint is dry you can have them help you take off the tape to reveal the pattern. Nathan thought this part was extra fun! We had a great time making this together and both love how it turned out. Happy crafting friends!

I actually had this idea in my head as I just started painting with my toddler! So glad I found it here – it looks great! Well done to you and your little cherub ❤
Your blog looks great, too! Will have to come visit more often
xo
Thanks Nancy!! Hope you guys had fun painting together this afternoon! :).